.jpg)
Most homeowners ask their garage to do more than one job. You need space for vehicles, room for seasonal storage, and maybe an area for a workbench or fitness equipment. The challenge is getting all of those functions to coexist in a single footprint.
A garage renovation that accounts for multiple uses from the start produces a space that works every day, not just on move-in day.
This guide covers the planning decisions, layout strategies, flooring choices, and storage systems that go into designing a garage around more than one purpose. You will learn how to define dedicated zones, choose materials that hold up under real garage conditions, and avoid the common mistakes that force homeowners to start over.
Multi-use garage renovations
- Define every function your garage needs to serve before selecting any products, materials, or finishes.
- Zone-based layouts prevent parking, storage, and hobby areas from competing for the same floor space.
- Flooring decisions directly affect durability, daily maintenance, and how comfortable the garage is for hobbies.
- Garage Living designs complete garage environments that integrate flooring, cabinetry, and storage into one plan.
- Professional installation ensures every component fits together correctly and lasts under real-world daily garage conditions.
Why multi-use garages require a different planning approach
A single-purpose garage is straightforward: park the car, close the door. A multi-use garage introduces competing demands. Your vehicle doors need clearance. Your storage systems need wall space. Your hobby area needs lighting, power, and enough room to actually work.
Experienced designers commonly observe that homeowners who skip the planning stage end up with a garage that does three things poorly instead of three things well. The key difference is sequencing: decide what the space needs to do, map those functions onto a layout, and then select products that support the plan.
Rushing into product purchases before settling on a layout is one of the most common and costly mistakes. Storage systems chosen in isolation rarely align with the full scope of a renovation.
How to define your garage zones before renovation
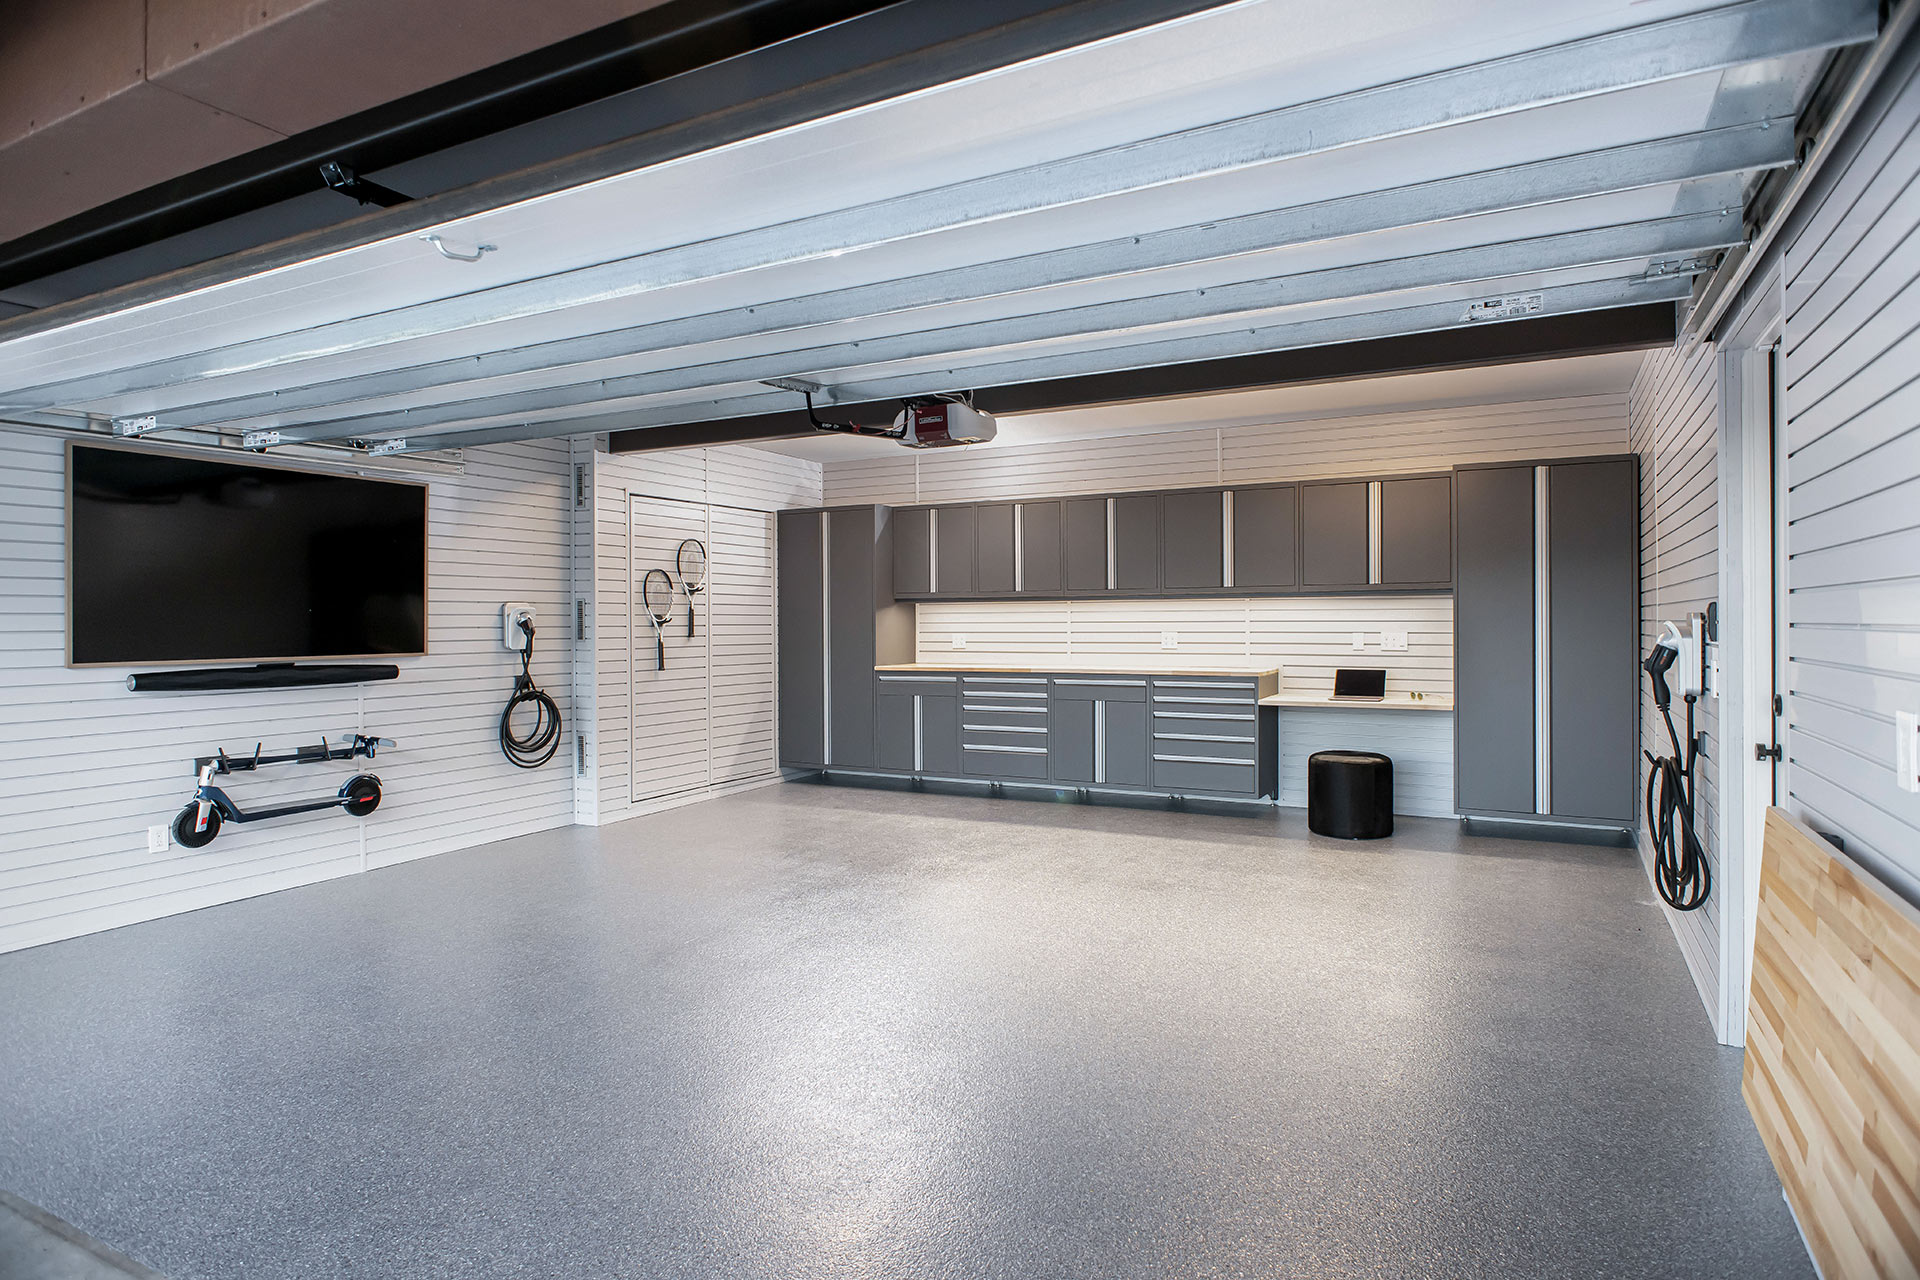
Zone planning is the foundation of every successful multi-use garage. Each function gets a designated area with defined boundaries. A typical two-car garage might include a parking zone, a wall-mounted storage zone, an overhead storage zone, and a work or hobby zone along the back wall.
Start by measuring the garage with vehicles parked inside. Note door swing paths, ceiling height under an open garage door, and the slope of the floor. These fixed constraints shape where each zone can go.
Parking zones: protecting vehicle access
Parking should be planned first because vehicle dimensions and door-swing clearance are non-negotiable. A standard sedan needs roughly 8 feet of width per bay, and SUVs or trucks often require 9 feet or more.
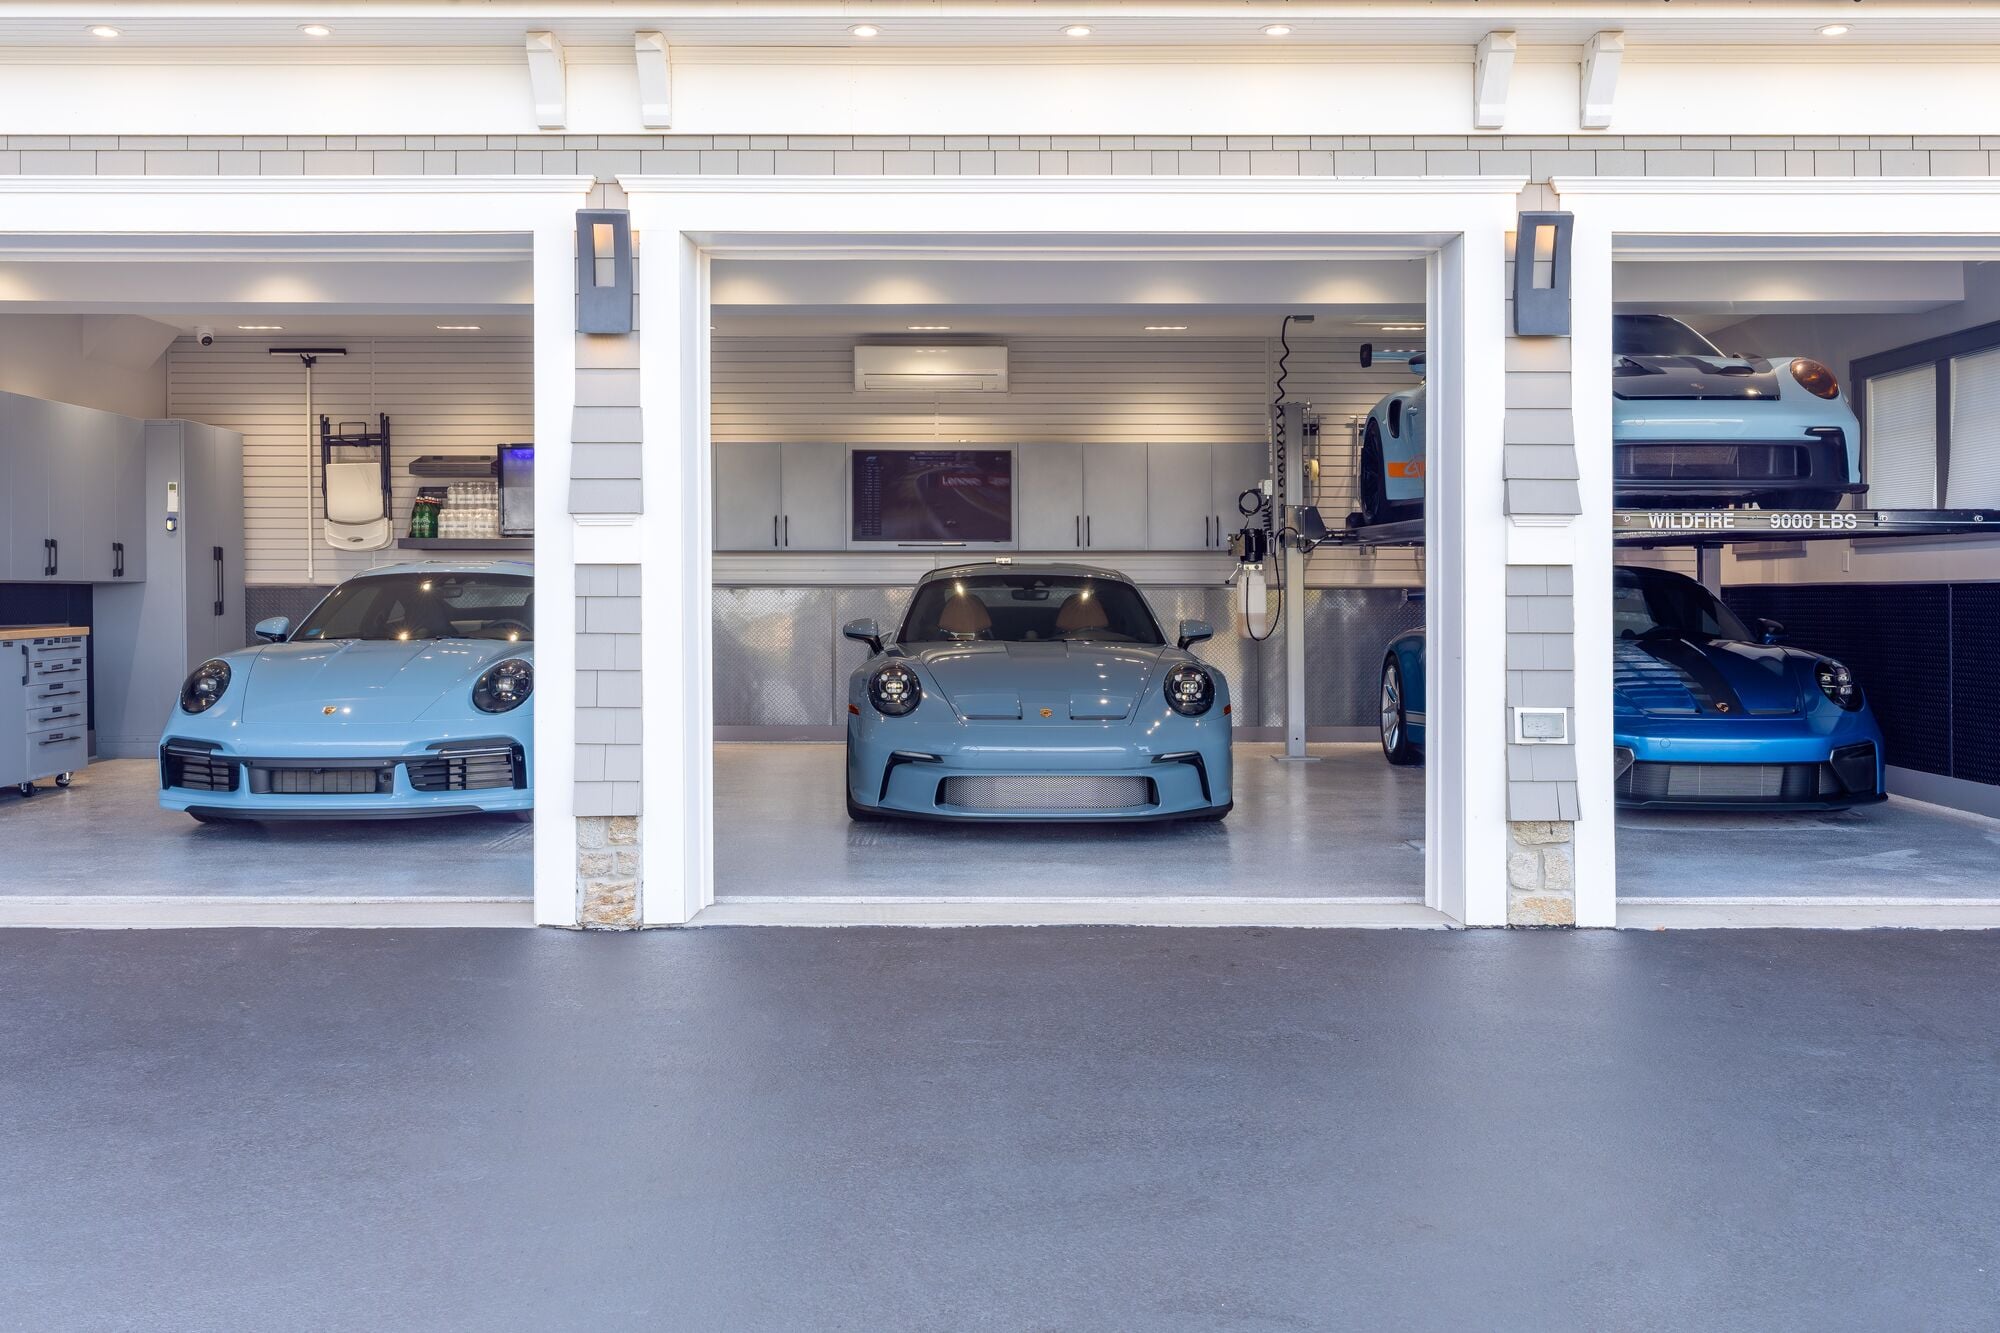
Leave at least 30 inches of clearance on each side for comfortable door opening. If you are considering a car lift to double your parking capacity, factor in the lift's column footprint and the ceiling height required for safe operation.
Storage zones: wall, overhead, and cabinet options
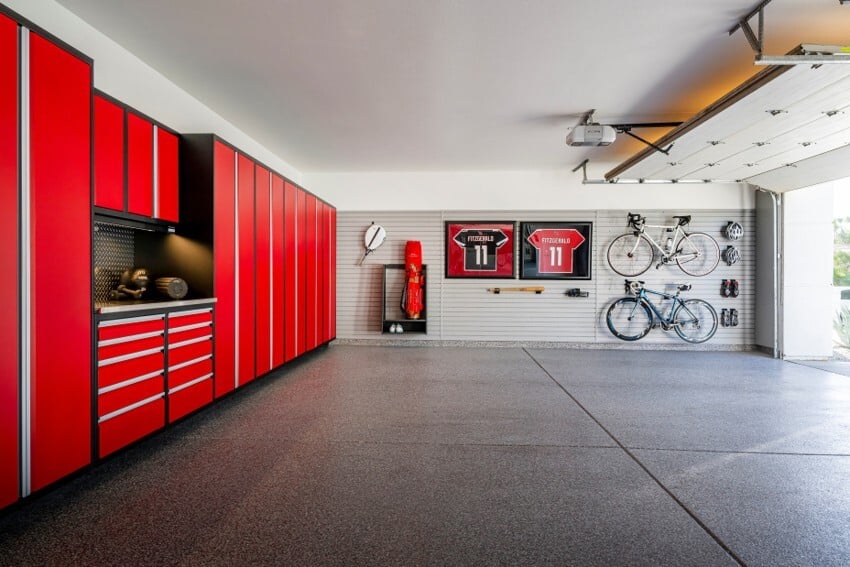
Wall-mounted slatwall systems keep tools, sports equipment, and garden gear accessible without using floor space. Overhead racks are ideal for seasonal items like holiday decorations or camping gear that you access only a few times per year.
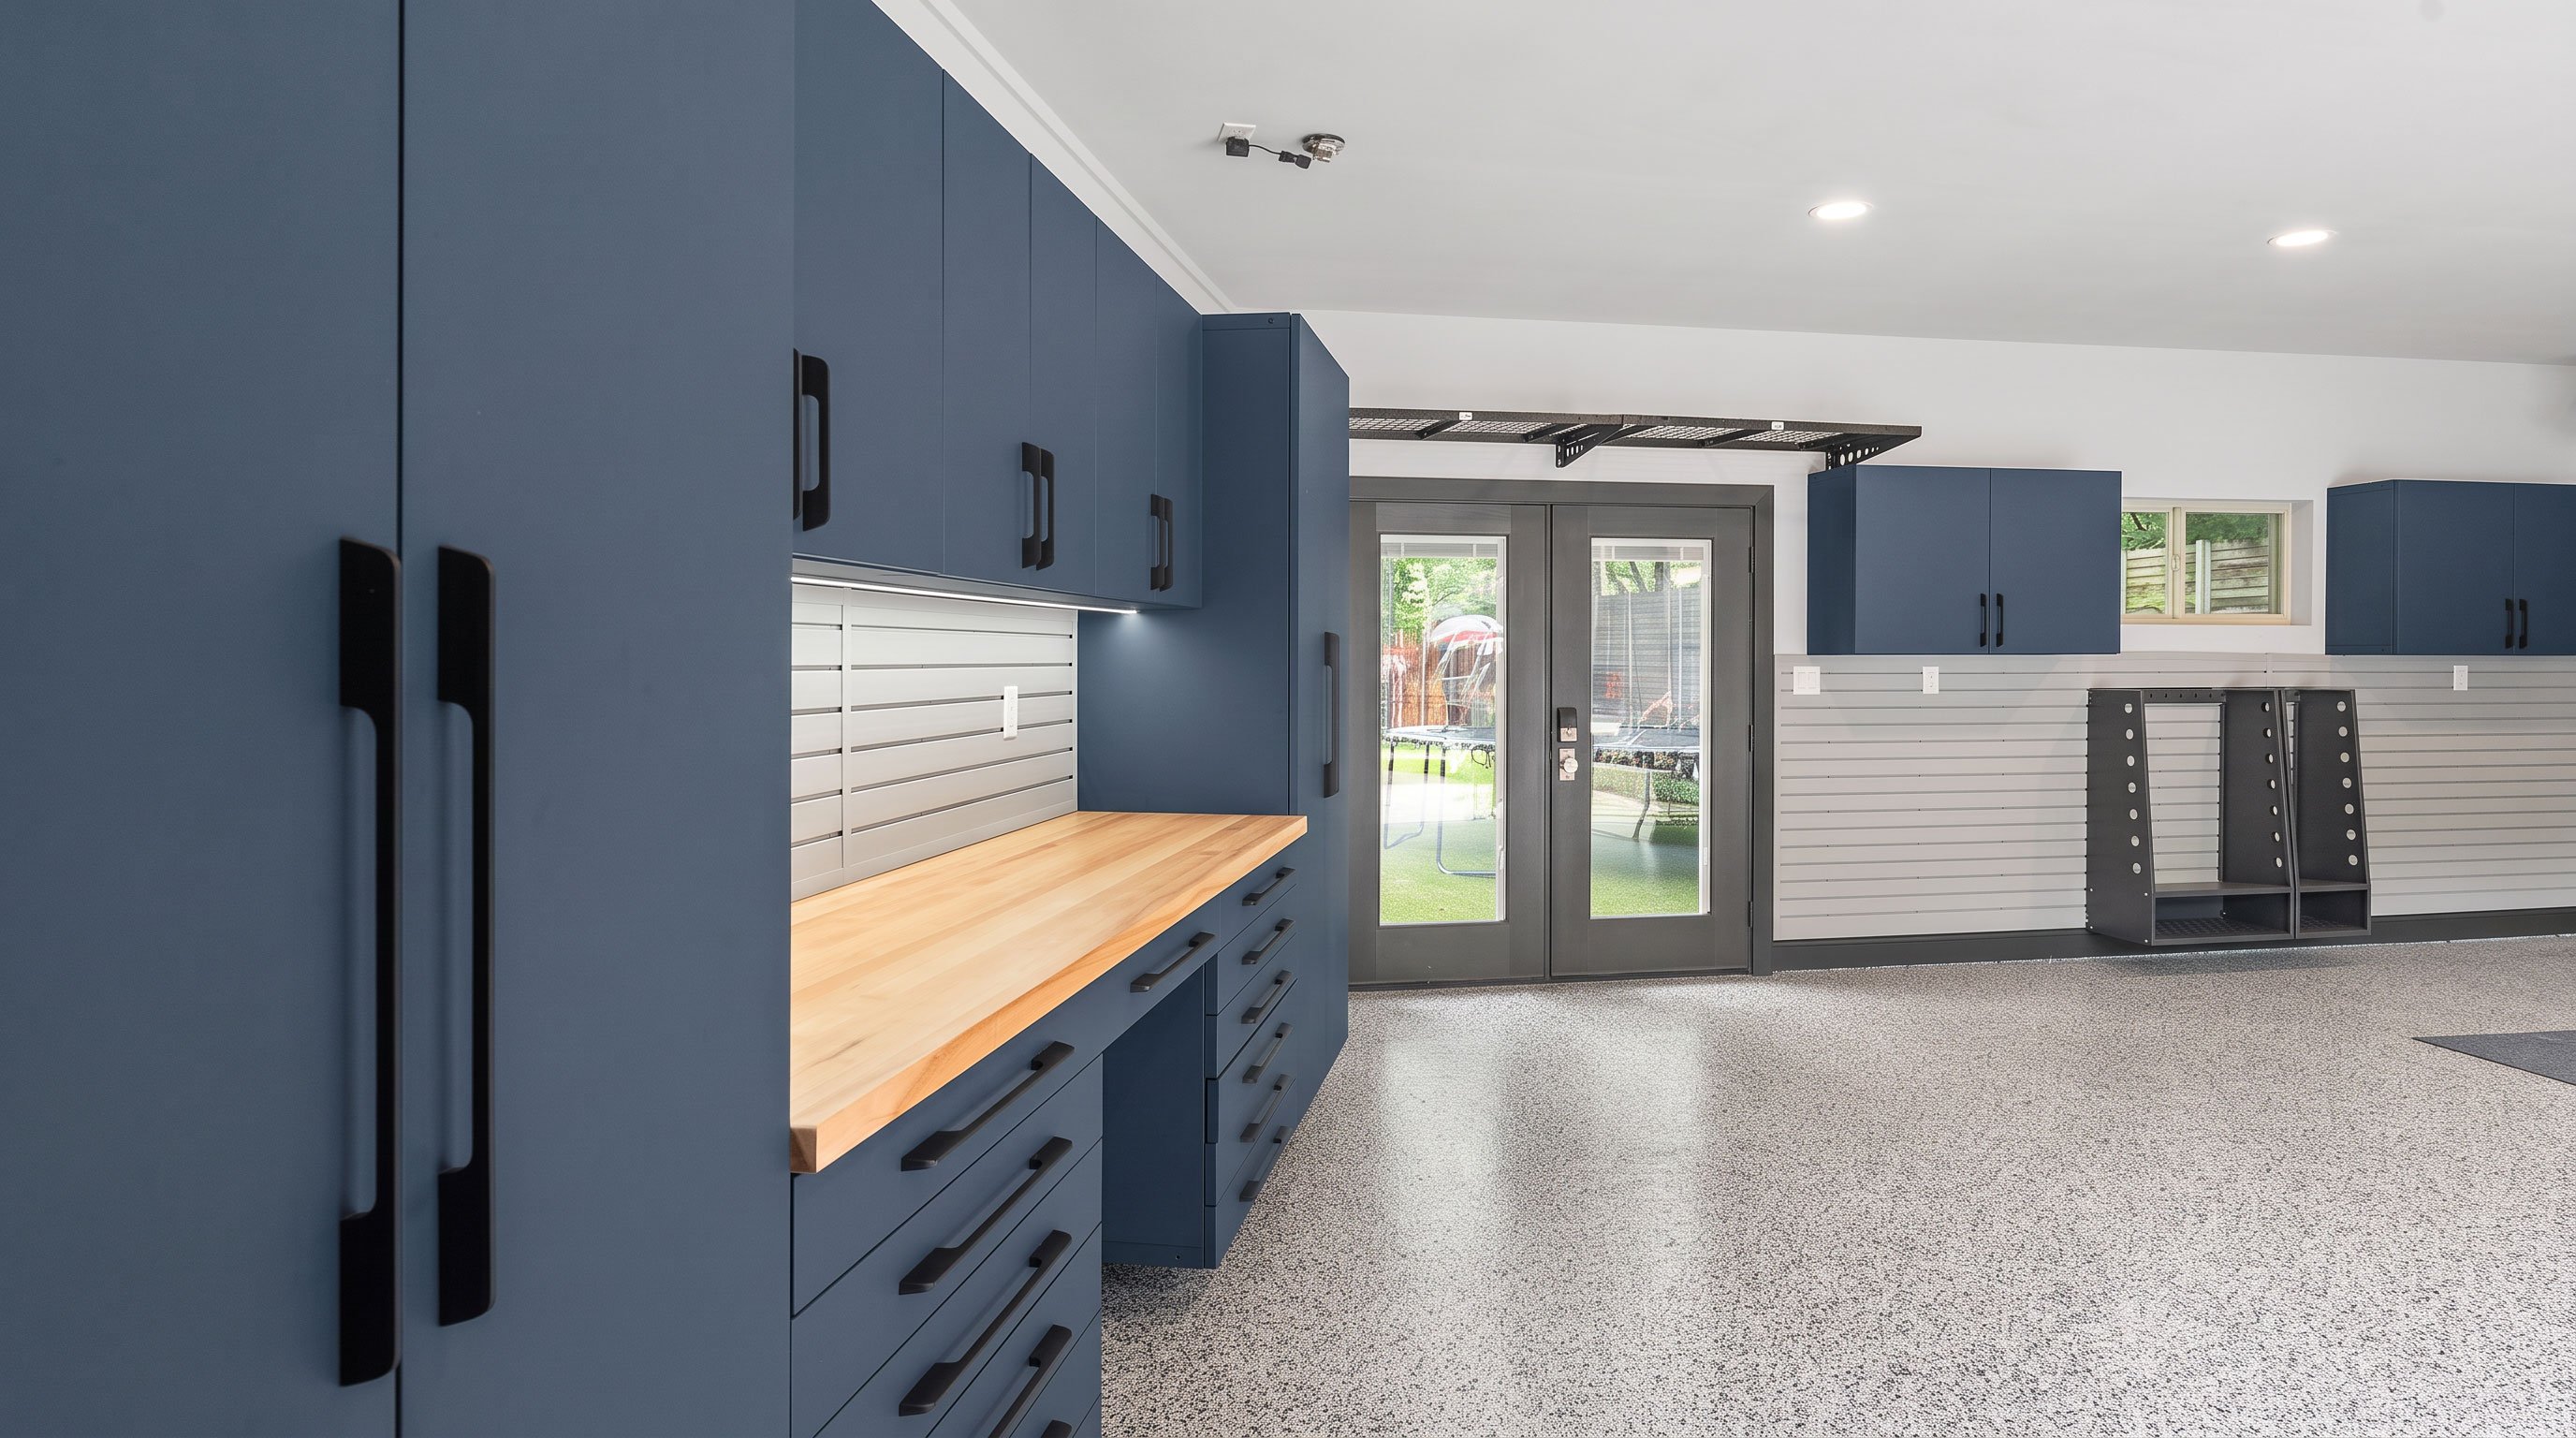
Cabinetry anchors the storage zone with enclosed, dust-free storage for chemicals, paints, and smaller items. Modular steel cabinets built from 18-gauge steel withstand temperature swings and moisture that would warp particleboard alternatives over time.
Hobby and work zones: designing for daily use
A hobby or work zone needs dedicated lighting, access to electrical outlets, and enough counter space to spread out. Position this zone along the back wall or a side wall away from the parking path so you can work without moving vehicles.
Integrated sinks and workbench surfaces make the space functional for woodworking, crafting, or equipment maintenance. If fitness is the goal, leave a clear floor area of at least 8 by 10 feet for equipment and movement.
How garage flooring choices affect a multi-use space
Flooring is one of the first decisions in a multi-use garage renovation because it sits beneath every zone. The coating or surface you choose needs to handle vehicle traffic, resist chemical spills, and still be comfortable enough for standing work or exercise.
Polyaspartic coatings vs. epoxy for garage floors
Polyaspartic coatings cure faster than epoxy, which means less downtime during installation. They also resist hot tire pickup, a condition where warm tires pull up portions of the floor coating. Epoxy coatings are more sensitive to temperature during application and can yellow when exposed to UV light over time.
Garage Living's Floortex polyaspartic coating bonds deep into the concrete rather than sitting on the surface. This deep-penetration bond resists peeling and cracking, even in climates with significant temperature variation. The coating also has high abrasion and chemical resistance, which matters when your floor handles both car tires and workshop spills.
What to look for in garage flooring for hobby areas
If your garage doubles as a gym or workshop, look for a floor with slip resistance and enough cushion to reduce fatigue during long standing sessions. Polyaspartic coatings can be applied with textured broadcast chips that add grip without making the surface difficult to sweep.
Color choice matters more than most homeowners expect. Lighter floor colors show dirt and stains more readily but make the space feel brighter and larger. Darker tones hide tire marks and oil spots but can absorb heat in warm climates.
Choosing the right storage systems for a multi-use garage
Storage systems need to match the items they hold and the zone they occupy. Open shelving works for frequently accessed tools. Enclosed cabinetry protects items from dust and moisture. Overhead racks store bulky seasonal items out of the way. The right combination depends on your inventory and how often you access each category.t
Slatwall systems for flexible wall storage
Slatwall panels accept hooks, baskets, shelves, and specialty holders that can be repositioned as your needs change. This modularity is especially valuable in a multi-use garage because the items on your wall will shift over time as hobbies, seasons, and family needs evolve.
Steel cabinetry vs. wood or laminate cabinets
Garages experience temperature swings, humidity changes, and exposure to fumes that household cabinetry is not built to handle. Garage Living Signature Steel Cabinetry uses fully welded 18-gauge steel construction with 150-pound-rated ball-bearing drawer sliders, so drawers glide smoothly even when loaded with heavy tools.
Wood and laminate cabinets may look similar at first but tend to swell, warp, or delaminate after a few seasons of exposure to uncontrolled garage conditions. Steel holds its shape and finish for years with minimal upkeep.
Overhead storage for seasonal and bulk items
Overhead storage racks mounted to ceiling joists reclaim space that would otherwise go unused. These are ideal for bins of seasonal decorations, camping gear, and luggage. Position overhead racks above the parking zone so they do not interfere with your work or hobby area.
Check the weight rating of any overhead system before installation. A fully loaded rack of holiday decorations and sporting equipment can weigh several hundred pounds, and the mounting hardware needs to handle that load safely.
Layout planning: how to arrange multiple functions in one garage
A well-planned layout puts compatible zones next to each other and separates functions that conflict. Parking zones belong near the garage door. Work zones belong at the back, where they will not block vehicle access. Storage zones line the side walls, connecting the two.
Single-car garage layouts for multi-use needs
A single-car garage offers roughly 200 square feet, which limits your options but does not eliminate them. Designers commonly recommend a narrow cabinetry run along one side wall with slatwall above, an overhead rack above the parking area, and a fold-down workbench on the back wall that stores flat when not in use.
In a single-car space, every inch counts. Choosing storage that mounts to walls and ceilings rather than standing on the floor keeps the parking area clear.
Two-car and three-car garage layouts
A two-car garage gives you roughly 400 square feet, which is enough to dedicate a full zone along the back wall to a workbench, fitness area, or hobby station. Three-car garages offer the flexibility to designate an entire bay for non-parking use.
In larger garages, the layout risk shifts from tight space to poor organization. Without defined zones, the extra square footage fills with unorganized items. According to a 2026 analysis by Alan's Factory Outlet, 57% of surveyed homeowners said they would rather have a two-car garage than an extra 400 square feet of indoor living space, which underscores how much homeowners value a well-functioning garage.
How to plan lighting and electrical for a multi-use garage
Lighting and electrical capacity are two of the most overlooked elements in a garage renovation. A single overhead bulb is enough for parking but entirely inadequate for detail work, fitness routines, or any hobby that requires visual precision.
Task lighting vs. ambient lighting in the garage
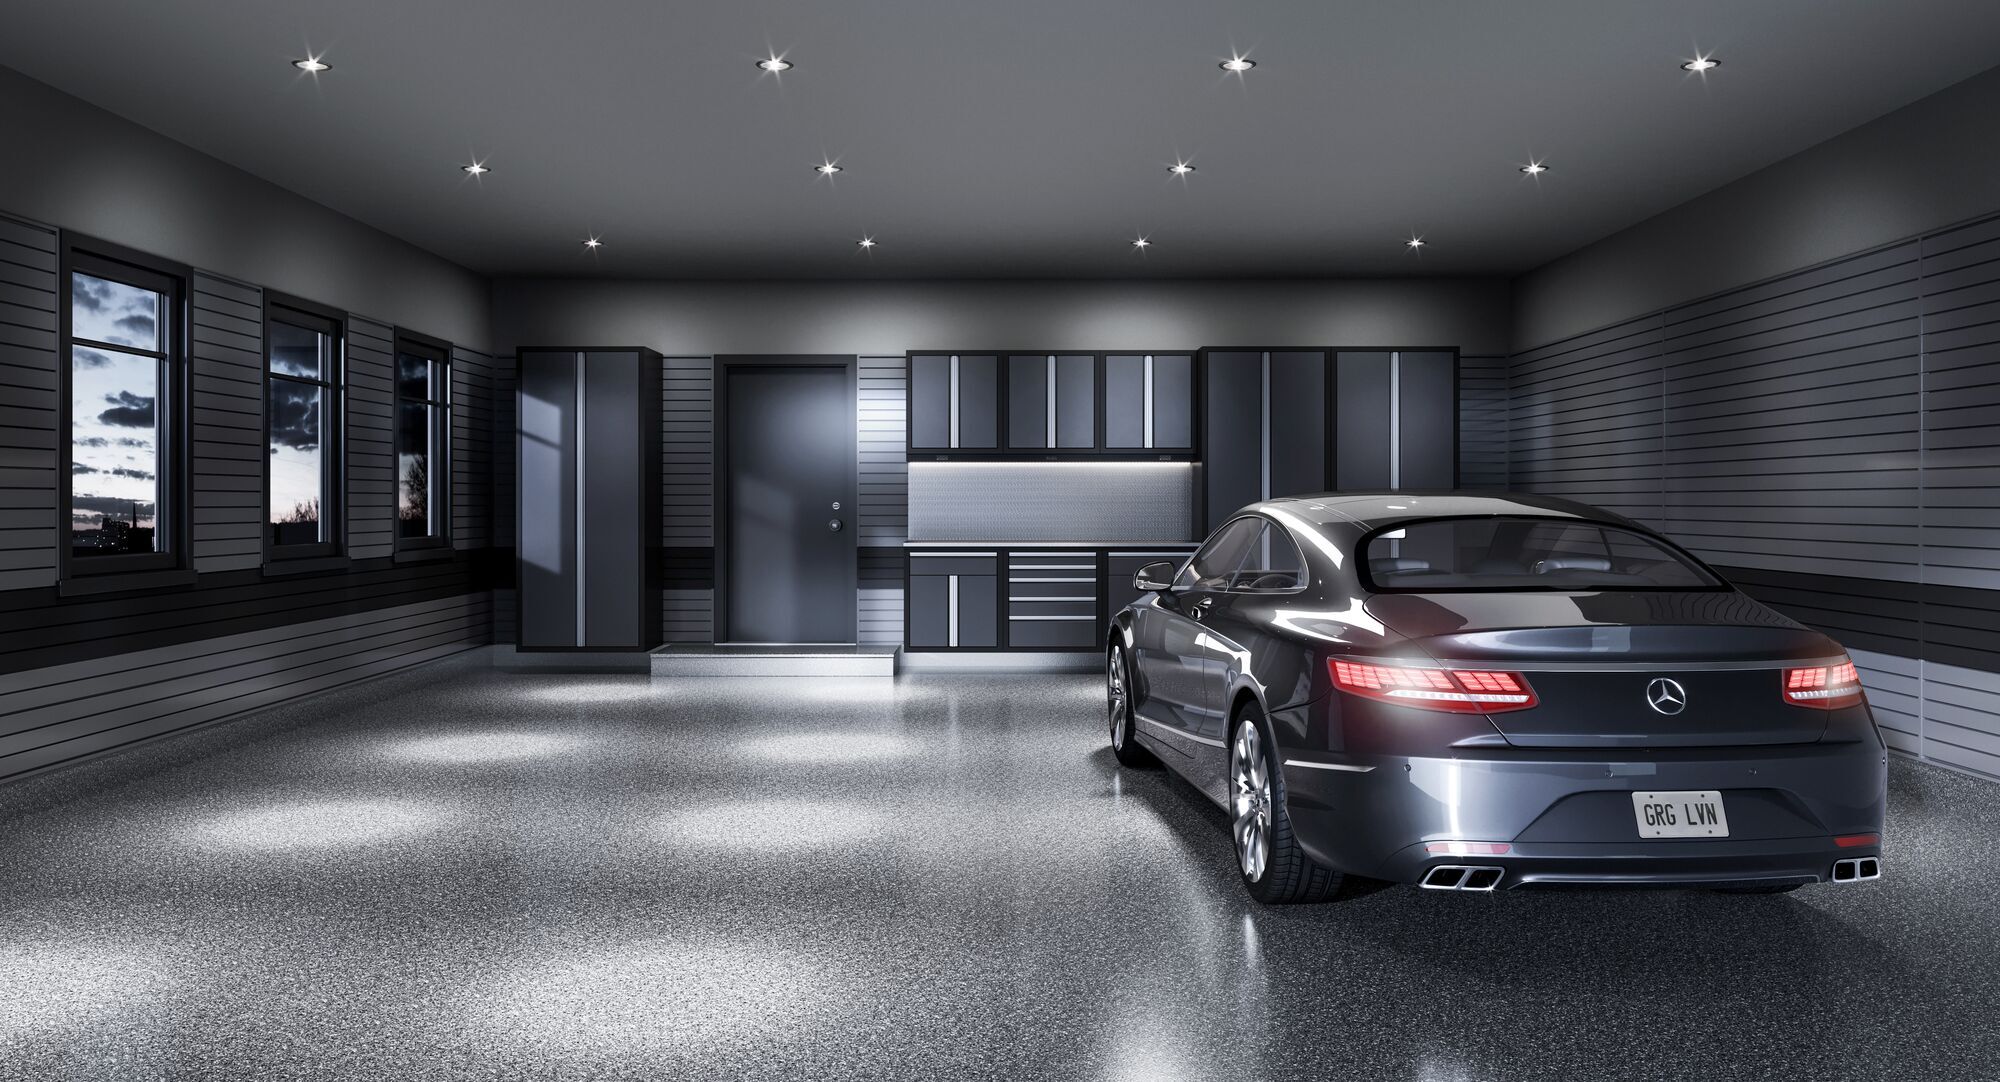
Ambient lighting illuminates the general space and should cover the full footprint of the garage. LED fixtures mounted along the center beam or ceiling deliver consistent, energy-efficient light without the warm-up delay of fluorescent tubes.
Task lighting targets specific zones. Under-cabinet LED strips illuminate a countertop surface. Dedicated overhead fixtures above a gym zone ensure even coverage for movement-based activities.
Electrical capacity and outlet placement
Multi-use garages need more electrical capacity than standard garage wiring delivers. A workshop with power tools, a compressor, or welding equipment may require a dedicated 240-volt circuit. EV charging stations also draw significant amperage and should be planned into the electrical layout from the start.
Place outlets at workbench height in the hobby zone and at standard height near the parking area for EV chargers, vacuums, and battery maintenance tools. A qualified electrician should assess your panel capacity before renovation begins.
Climate control considerations for multi-use garages
An uninsulated garage is comfortable only a few months of the year in most climates. If your garage will serve as a workout space, workshop, or hobby room, temperature control becomes a practical requirement rather than a luxury.
Insulation options for garage walls and doors
Insulating garage walls with fiberglass batt or rigid foam board reduces heat transfer and keeps the space more temperate year-round. Insulated garage doors are equally important because the door is the largest single surface area exposed to outdoor conditions.
An insulated garage holds conditioned air more effectively and reduces noise transfer to adjacent rooms inside the house, which matters if your hobby involves power tools or amplified music.
Heating, cooling, and ventilation for garage hobby spaces
Mini-split systems offer efficient heating and cooling without the ductwork a central HVAC extension requires. Ceiling fans circulate air during warmer months and reduce stratification in winter when warm air rises to the ceiling.
Ventilation is critical if you are working with paints, solvents, or adhesives. An exhaust fan rated for the square footage of your garage removes fumes and maintains air quality during and after project work.
Common mistakes in multi-use garage renovations
Experienced garage designers see the same planning errors repeatedly. Avoiding these saves time, money, and the frustration of tearing out work that does not perform as expected.
Renovating one element at a time instead of as a system
Installing flooring one year, cabinets the next, and storage the year after often results in components that do not work well together. Cabinetry installed before flooring creates gaps underneath. Slatwall installed before the layout is finalized may end up in the wrong location.
Designing and installing flooring, cabinetry, and storage as a single coordinated project ensures every element aligns. Garage Living's turn-key approach covers design, product selection, and professional installation in one project, which eliminates the misalignment that piecemeal renovations create.
Underestimating storage needs
Most homeowners underestimate how much storage they need by 20 to 30 percent. The items in your garage today represent your current inventory, but families accumulate sports equipment, tools, and seasonal items over time. Build in storage capacity beyond what you need right now.
A complimentary design consultation with a professional designer helps identify storage requirements you might not anticipate on your own.
Ignoring vehicle protection in the layout
Many garage renovation plans focus so heavily on storage and hobby space that vehicle protection becomes an afterthought. Experienced designers commonly observe that a poorly positioned workbench or cabinet run can force you to park inches from the wall, increasing the risk of door dings and paint damage.
Vehicle protection is a core function of the garage. Every layout should preserve adequate clearance for comfortable parking, door opening, and foot traffic around parked vehicles.
How a professional garage design process works
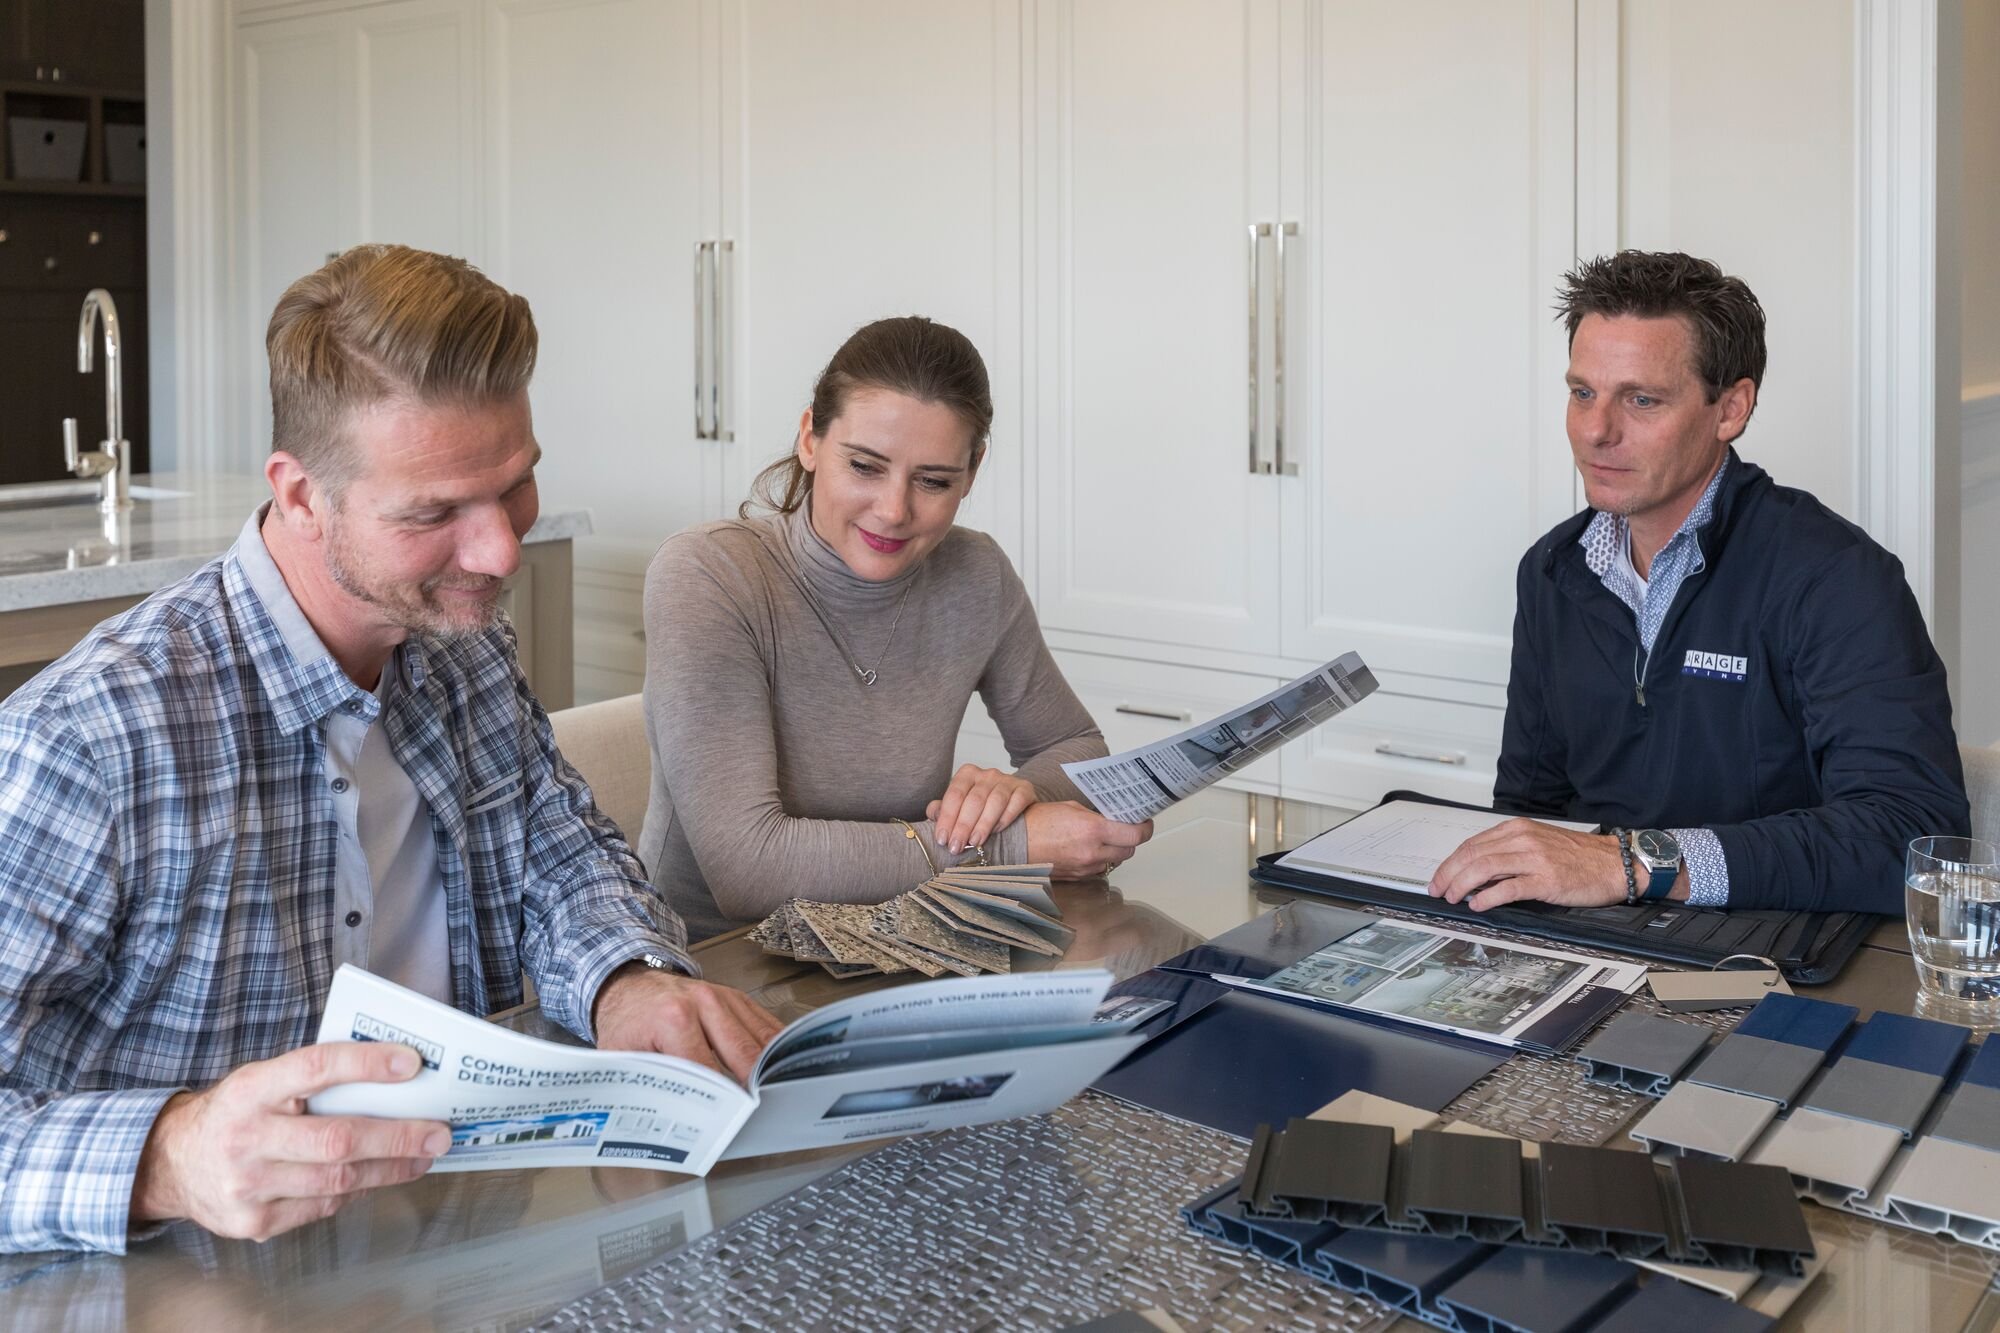
A professional garage renovation starts with a consultation where a designer evaluates your space, takes measurements, and discusses how you plan to use the garage. From there, the design team creates CAD visualizations so you can see exactly how the finished space will look before any work begins.
Garage Living's design consultation process includes an in-home or showroom visit where you can see and touch products before committing. The turn-key service covers everything from design through installation, including cleanup, so you are not coordinating multiple contractors.
Professional installation teams arrive with all tools and materials, manage the process from start to finish, and conduct a final walkthrough to confirm every detail meets the design specifications.
How a multi-use garage renovation adds home value
A well-planned garage renovation does more than improve your daily routine. It adds measurable value to your home. A 2026 analysis of more than 20,000 Realtor.com listings found that homes with a garage commanded a roughly 10% premium over comparable homes without one across 50 major U.S. cities.
The same study found that the top garage upgrade buyers would pay extra for was storage, including shelving and overhead racks, at 60%. Insulation for temperature control came in at 51%, and built-in workbench or workshop areas at 36%.
A garage renovation that includes all three of these features positions your home well for resale while giving you years of improved functionality.
Step-by-step: planning your multi-use garage renovation
The following sequence covers the planning process from first measurement to installation day. Each step builds on the previous one, so resist the temptation to skip ahead to product selection.
Step 1: inventory what you need the garage to do
List every function your garage needs to serve. Common entries include parking, seasonal storage, tool storage, workshop space, fitness area, and vehicle maintenance. Rank these by importance. Your top two priorities get the most floor space.
Step 2: measure and map your space
Measure the full footprint, ceiling height, door opening dimensions, and locations of fixed elements like water heaters, electrical panels, and stairs. Sketch the layout on graph paper with vehicles parked in position.
Step 3: assign zones to functions
Map each function from Step 1 onto the layout from Step 2. Keep parking zones near the door, hobby and work zones at the back, and storage along the side walls. Verify that zones do not overlap and that traffic paths remain clear.
Step 4: Select flooring based on combined use
Choose a floor coating that handles the toughest demands of your combined use. If your garage will see vehicle traffic and workshop activity, a polyaspartic coating offers the durability, chemical resistance, and fast cure time needed for that combination.
Step 5: choose storage and organization systems
Select cabinetry, slatwall, and overhead racks that fit the zones you defined. Prioritize systems rated for garage conditions: temperature variation, humidity, and heavy daily use.
Step 6: plan lighting, electrical, and climate control
Specify ambient and task lighting for each zone. Confirm electrical capacity supports your planned equipment. Add insulation and climate control if the space will serve as a year-round hobby or fitness area.
Step 7: install as one coordinated project
Schedule all components for installation in a single project window. This coordinated approach ensures flooring, cabinetry, slatwall, and lighting integrate correctly. It also reduces the total time your garage is out of commission.
How to get your multi-use garage right the first time
A multi-use garage renovation succeeds when every decision is made with the full picture in mind. Start with a clear list of functions. Assign each one a dedicated zone. Choose flooring, storage, and lighting that support all of your uses, not just the most obvious one.
The difference between a garage that works for years and one that needs rework after just a few months almost always comes down to planning. Designing every element as part of one system, rather than adding components one at a time, delivers a space that holds up under daily use and adds lasting value to your home.
FAQs about multi-use garage renovations
How long does a multi-use garage renovation take
Most professional garage renovations take one to five days depending on scope. Flooring typically requires one to two days including cure time. Cabinetry and slatwall installation adds another one to three days.
Garage Living coordinates the full installation as one project, which reduces total downtime compared to scheduling individual contractors for each component.
Can you combine a workshop and parking in a two-car garage
Yes. A two-car garage has enough space to dedicate a section along the back wall to a workbench and tool storage while maintaining both parking bays. The key is assigning each function a defined zone and using wall-mounted storage to preserve floor area.
What type of garage flooring works for both cars and fitness equipment
Polyaspartic coatings handle vehicle traffic, resist chemicals, and offer a smooth surface for gym mats and fitness equipment. Garage Living's Floortex coating resists hot tire pickup and cures quickly, so you can drive on it sooner after installation.
How much does a multi-use garage renovation cost
Cost depends on the scope of work, the size of your garage, and the materials selected. A flooring upgrade runs a different range than a full renovation with cabinetry, slatwall, lighting, and climate control. A complimentary design consultation with Garage Living helps you understand costs specific to your space and goals.
What is the most important zone to plan first in a garage renovation
Parking is the most important zone to plan first because vehicle dimensions and door-swing clearance are fixed constraints that define how much space remains for other functions. Once parking is accounted for, you can allocate the remaining area to storage, hobbies, and work.