.jpg)
A garage makeover involves more decisions than most homeowners expect. Choosing flooring, mapping out storage zones, and planning electrical work all need to happen before a single tool comes out. Without a clear plan, small oversights can snowball into delays and rework.
Garage Living helps homeowners navigate these early-stage choices with complimentary design consultations and renderings that map out every detail in advance. This article walks you through the key decisions to make before your project begins, so each step moves you closer to a finished space that fits your life.
Garage makeover decisions to make before you start
- Defining zones for parking, storage, and hobbies before selecting products keeps the layout functional from day one.
- Selecting a high-performance floor coating early protects your investment and sets the foundation for everything above it.
- Planning electrical circuits and EV charging during the design phase avoids costly retrofits after walls are finished.
- Garage Living pairs expert design consultations with professional installation to simplify the entire makeover process.
- Budgeting for every component upfront, from cabinetry to lighting, prevents mid-project surprises that derail timelines.
Key decisions for planning your garage makeover
1. Define how you use the space
Start by listing every activity your garage needs to support: parking, long-term storage, workshop tasks, or hobby projects. Rank your top three priorities. That ranking becomes the filter for every product and layout decision that follows.
Walk through the space with a tape measure and note where doors, windows, and outlets sit. According to the 2025 Remodeling Impact Report by NAR and NARI, 28 percent of homeowners say better functionality is the most important result of a renovation. Defining goals early ensures the finished space delivers on that expectation.
2. Assign separate zones for parking, storage, and activities
Think of your garage as a series of distinct rooms rather than one open box. Dedicate one zone to vehicle parking with enough clearance for doors to open fully. Reserve a second zone for cabinetry and wall-mounted storage, grouping items by how often you reach for them.
If you plan to use the space for fitness, woodworking, or another hobby, carve out a third zone near natural light and electrical outlets. Mark these boundaries on your floor plan with tape before installing anything permanent. Testing the layout first saves you from repositioning heavy fixtures later.
3. Choose your floor coating before anything else
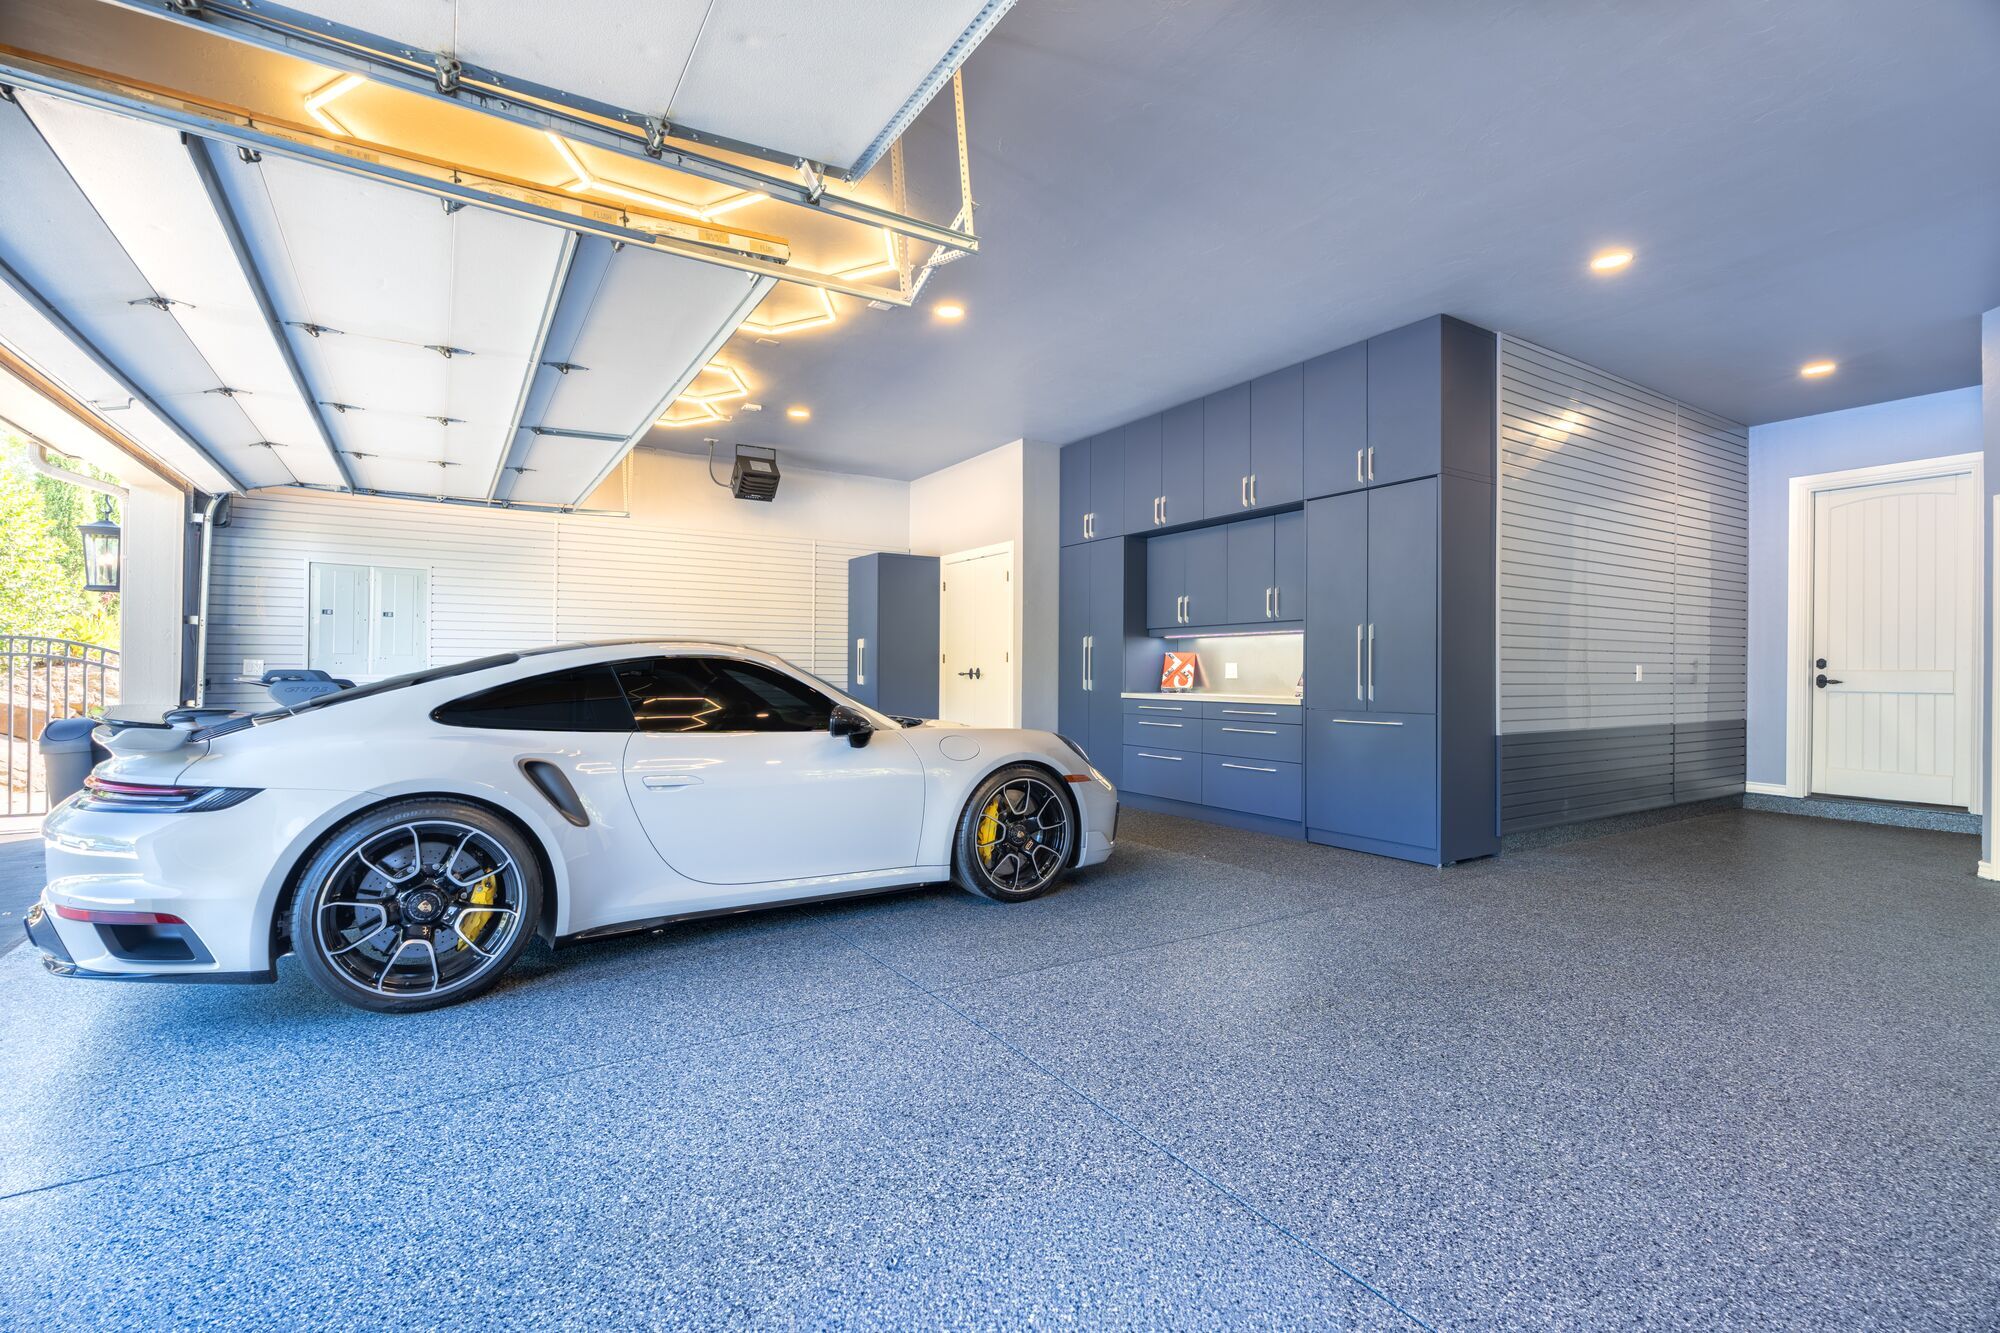
Your garage floor supports vehicle weight, absorbs chemical spills, and endures temperature swings throughout the year. Polyaspartic coatings bond deep into concrete rather than sitting on the surface, which means they resist hot-tire pickup, salt stains, and daily abrasion far longer than standard epoxy.
Fast-curing formulas let you walk on the floor the same day and return vehicles the next. Choosing flooring first also protects your new surface from damage during cabinet and slatwall installation. A ten-year limited warranty adds long-term confidence that the coating holds up under real conditions.
4. Map out your storage system: cabinets, slatwall, and overhead racks
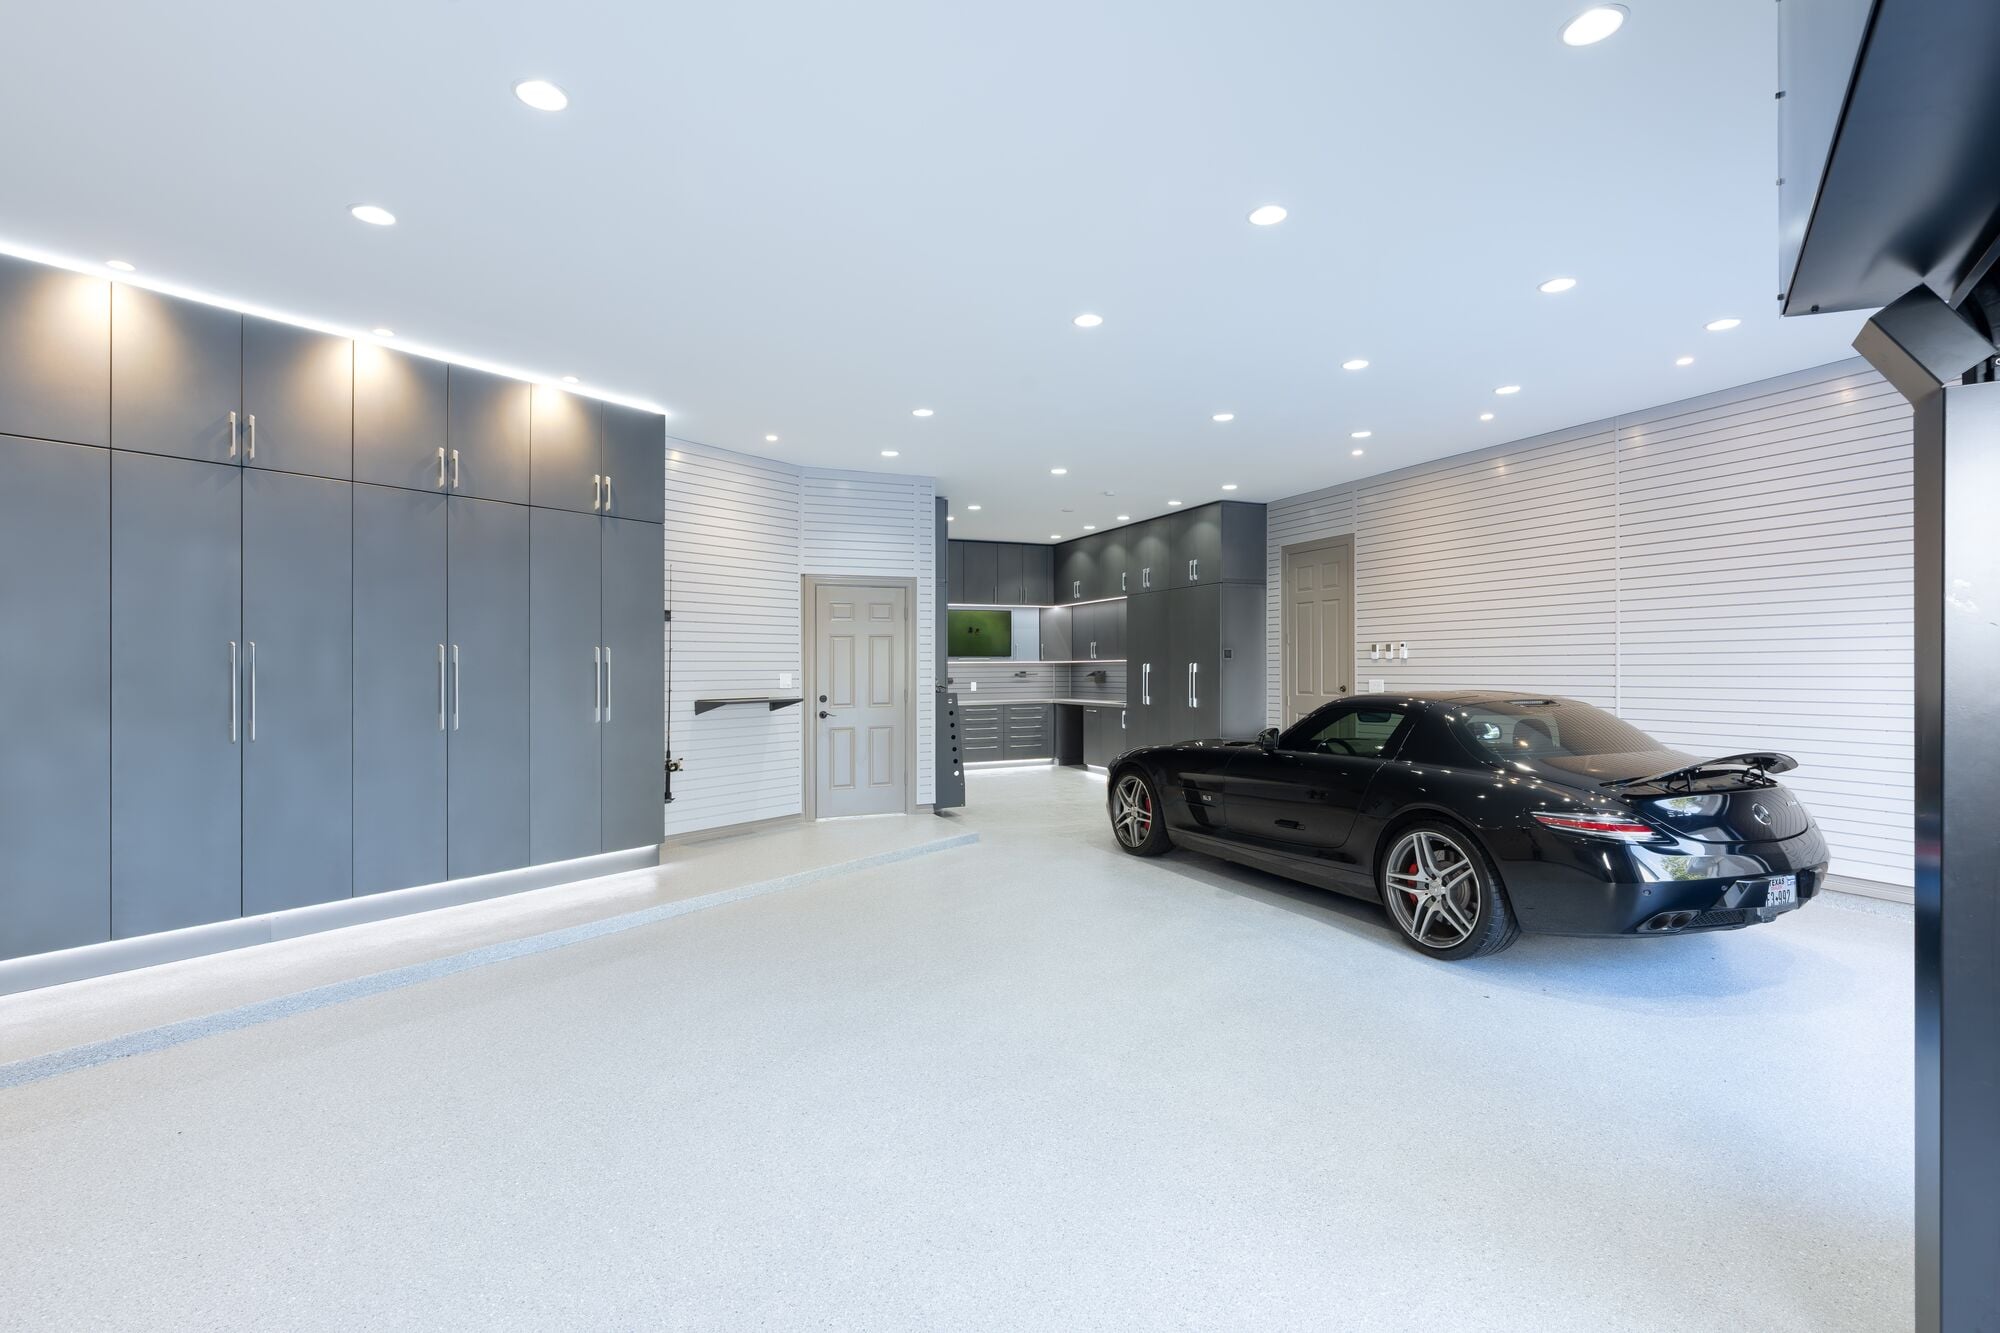
Storage is where most homeowners reclaim the largest share of usable space. Steel cabinets built from 18-gauge steel with 150-pound ball-bearing drawer sliders handle heavy tools without sagging over time. Powder-coated finishes in multiple colors let the cabinetry match the rest of your design.
Slatwall panels keep bikes, sporting equipment, and garden tools organized and off the floor. Overhead racks mounted to ceiling joists store bulky seasonal items you only access a few times a year, keeping walkways and parking lanes clear.
5. Plan electrical circuits and EV charging early
Before cabinets go on the wall or flooring gets applied, map every electrical requirement. Dedicated circuits for power tools, task lighting, and a Level 2 EV charger should be roughed in during the planning phase rather than retrofitted after finishes are in place.
Addressing wiring early avoids tearing into freshly finished walls and keeps your project timeline on track. Consult a licensed electrician to confirm your panel capacity before finalizing any layout that demands multiple high-draw circuits. Nearly all new-build garages now account for electric vehicle adaptations as standard practice.
6. Decide between DIY and professional installation
A turn-key installation service manages material delivery, surface preparation, and final cleanup so you can focus on the result. Garage Living's insured teams arrive with all necessary tools and conduct a walkthrough once work is complete, verifying every element meets quality standards.
Professional oversight reduces the risk of improper floor prep, misaligned cabinets, or code violations that surface months after the project wraps. Warranties and post-project support from a dedicated team add a layer of protection that a do-it-yourself approach simply cannot replicate.
7. Design a functional workspace
If your garage doubles as a workshop, position your workbench along a wall with direct access to outlets and strong overhead lighting. Integrated sinks and power options keep your workflow uninterrupted so you can move from one task to the next without leaving the space.
8. Consider vehicle protection and car lifts
Homeowners with multiple vehicles or collectible cars should evaluate whether a four-post car lift fits the garage ceiling height and floor slab thickness. ALI-certified lifts double your parking capacity without expanding the building footprint, making them a practical choice for urban homes with limited space.
Drip trays and steel approach ramps come standard on residential models, protecting your new floor coating and simplifying daily use. Planning for a lift early ensures the concrete slab and ceiling clearance meet specifications before any other installation begins.
9. Set a clear budget and timeline
Gather detailed quotes that cover every component: flooring, cabinetry, slatwall, lighting, and labor. Ask how long each phase takes and when you can use the space again. Fast-curing coatings and modular cabinet systems often compress installation timelines to just a few days rather than several weeks.
A complimentary design consultation paired with CAD visualizations helps you compare options and finalize decisions before any work begins. Knowing the full scope and schedule upfront prevents mid-project changes that push your budget off course.
10. Book a professional design consultation
Once your goals, layout, and budget are set, booking a professional consultation locks in the final details. A designer measures your garage, discusses your priorities, and produces a rendering of the finished space so you can see exactly what the result looks like before installation day.
Visiting a Garage Living showroom lets you see and feel products before making your final selection. That hands-on step removes guesswork and builds real confidence in every material, finish, and color choice you make.

How to start your garage makeover
A well-planned garage makeover protects your vehicles, organizes your belongings, and adds functional square footage to your home. Each decision you make before the first tool comes out shapes the durability, efficiency, and daily usability of the finished space.
Garage Living brings together premium flooring, custom cabinetry, and expert installation under one roof. If you are ready to move forward, schedule your complimentary design consultation and see how your finished garage will look before a single product gets installed.
FAQs about garage makeover decisions to make before you start
What is the first decision to make before a garage makeover?
Define how you use the space right now and list your top priorities, whether that is parking, storage, or a workspace. That priority list shapes every product and layout choice that follows and keeps the project focused from the start.
How long does a professional garage makeover typically take?
Most full-service projects finish in a matter of days. Fast-curing floor coatings and pre-engineered cabinet systems speed up installation. Garage Living coordinates every phase so downtime stays minimal and your routine returns to normal quickly.
Why should I choose flooring before installing cabinets or slatwall?
Installing flooring first creates a clean, sealed surface that protects concrete from moisture and stains. It also prevents damage to the coating during later installation stages. A durable floor sets the foundation for every other element in the space.
Do I need to plan for EV charging during a garage makeover?
Yes. Roughing in a Level 2 EV charger circuit during the design phase is far simpler and less expensive than retrofitting wiring after walls and flooring are finished. Even if you do not own an electric vehicle today, pre-wiring adds resale value.
Can I add a car lift to a standard residential garage?
You can, as long as ceiling height and floor slab thickness meet the required specifications. ALI-certified four-post lifts are designed for residential use and include drip trays and steel ramps for safe, everyday operation.
Is a professional design consultation worth the time?
A complimentary consultation gives you renderings and a clear materials plan before any work starts. Garage Living uses CAD visualizations to help you finalize decisions early, preventing costly changes mid-project and ensuring the layout matches your daily needs.