.jpg)
Planning a garage renovation often starts with a single question: should you install the floor first or the storage cabinets? If you've ever tackled a home improvement project out of order, you know the frustration that follows. When flooring and storage aren't planned together from the beginning, you risk mismatched designs, installation delays, and systems that don't perform well under real garage conditions.
Garage Living helps homeowners avoid these common pitfalls by designing flooring and storage as one cohesive system from day one. This guide walks you through every consideration—from assessing your concrete condition to choosing the right cabinet finish—so your renovation delivers long-term performance and a polished look that matches your home.
Whether you're converting your garage into a functional workshop, creating space for vehicle storage, or simply organizing years of accumulated belongings, you'll find actionable steps below to plan your project with confidence.
How to plan garage flooring and storage in 2026
- Plan flooring and storage together to avoid design conflicts, installation delays, and systems that fail under real garage use.
- Assess your concrete's condition before choosing any floor coating—cracks, moisture, and oil stains require different preparation approaches.
- Choose flooring materials based on your garage's primary function, whether parking, workshop use, or hobby activities.
- Garage Living designs integrated systems where Floortex floor coatings and custom cabinetry work together for lasting durability.
- Sequence your installation correctly by completing flooring first, then mounting wall storage and finally installing cabinets.
Why planning flooring and storage together matters
Many homeowners treat garage flooring and storage as separate projects. They install a floor coating one year and add cabinets the next. This approach creates problems that aren't always obvious until the project is complete.
When you plan flooring and storage together, you can coordinate color finishes, ensure proper clearances for cabinet installation, and sequence the work so each phase builds on the previous one. Floor coatings need to cure before heavy cabinets can be anchored. Cabinet layouts need to account for electrical outlets, windows, and door swings.
A unified planning approach also means your storage system's weight distribution aligns with your flooring's load-bearing capabilities. Heavy tool chests and overhead racks require specific anchor points that are easier to plan when you're designing the entire space at once.
How to assess your garage before starting
Examine your concrete floor condition
Your concrete floor's current state determines what preparation work you'll need. Walk the entire surface and note any cracks wider than a pencil, areas where the concrete has spalled (flaked off), or sections that feel uneven underfoot.
Oil stains and tire marks also require attention. These contaminants prevent floor coatings from bonding properly. Mark these areas with painter's tape so you can address them during the preparation phase.
Test for moisture issues
Moisture rising through concrete is one of the most common causes of floor coating failure. To test for moisture, tape a two-foot square of plastic sheeting to the floor and leave it for 24-48 hours. If condensation appears under the plastic, you have a moisture problem that needs addressing before any coating can be applied.
Professional installers use electronic moisture meters for more precise readings. Acceptable moisture levels vary by coating type, but generally should be below 4% for most polyaspartic and epoxy systems.
Measure and document your space
Accurate measurements form the foundation of any garage project. Document the overall dimensions, ceiling height, and locations of windows, doors, electrical panels, and water heaters. Note which walls are load-bearing and where existing outlets are positioned.
Sketch a basic floor plan showing these elements. This document becomes invaluable when selecting cabinet configurations and determining optimal storage layouts.
Understanding your flooring options
Polyaspartic coatings: The professional standard
Polyaspartic floor coatings have become the go-to choice for premium garage renovations. Unlike traditional epoxy, polyaspartic cures faster, resists UV yellowing, and handles temperature fluctuations better. These coatings can be installed and ready for foot traffic in as little as 24 hours.
Garage Living's Floortex coating system bonds deeply into concrete rather than sitting on the surface. This penetrating bond creates superior adhesion that resists hot tire pickup and salt stains—two issues that plague cheaper garage floor coatings.
Polyaspartic coatings also offer excellent chemical resistance. Oil drips, gasoline spills, and cleaning solvents wipe up without staining or damaging the surface.
Epoxy coatings: A time-tested option
Two-part epoxy coatings remain popular for their durability and relatively lower cost. When properly applied over prepared concrete, epoxy creates a hard, glossy surface that resists impact and abrasion.
However, epoxy has limitations. It requires longer cure times—often 3-7 days before vehicle traffic—and can yellow when exposed to UV light. Epoxy also becomes slippery when wet unless texture additives are mixed in during application.
For garages with limited natural light or those used primarily for storage rather than parking, epoxy can be a practical choice. But for active-use garages, polyaspartic offers meaningful performance advantages.
Interlocking tiles: Flexible and removable
Interlocking floor tiles offer a different approach. Made from polypropylene or PVC, these tiles snap together without adhesive and can be removed if needed. They're popular for home gyms, workshops, and show garages.
Tiles come in various patterns and colors, allowing custom designs. They also create a slight cushion underfoot, reducing fatigue during long work sessions. However, tiles require periodic removal for deep cleaning underneath, and some moisture can collect beneath them in humid climates.
Storage system options for every garage
Wall-mounted cabinet systems
Wall-mounted cabinets maximize floor space by keeping storage off the ground. This design makes floor cleaning easier and protects contents from potential water intrusion. Premium cabinet systems feature powder-coated steel construction with ball-bearing drawer slides rated for heavy loads.
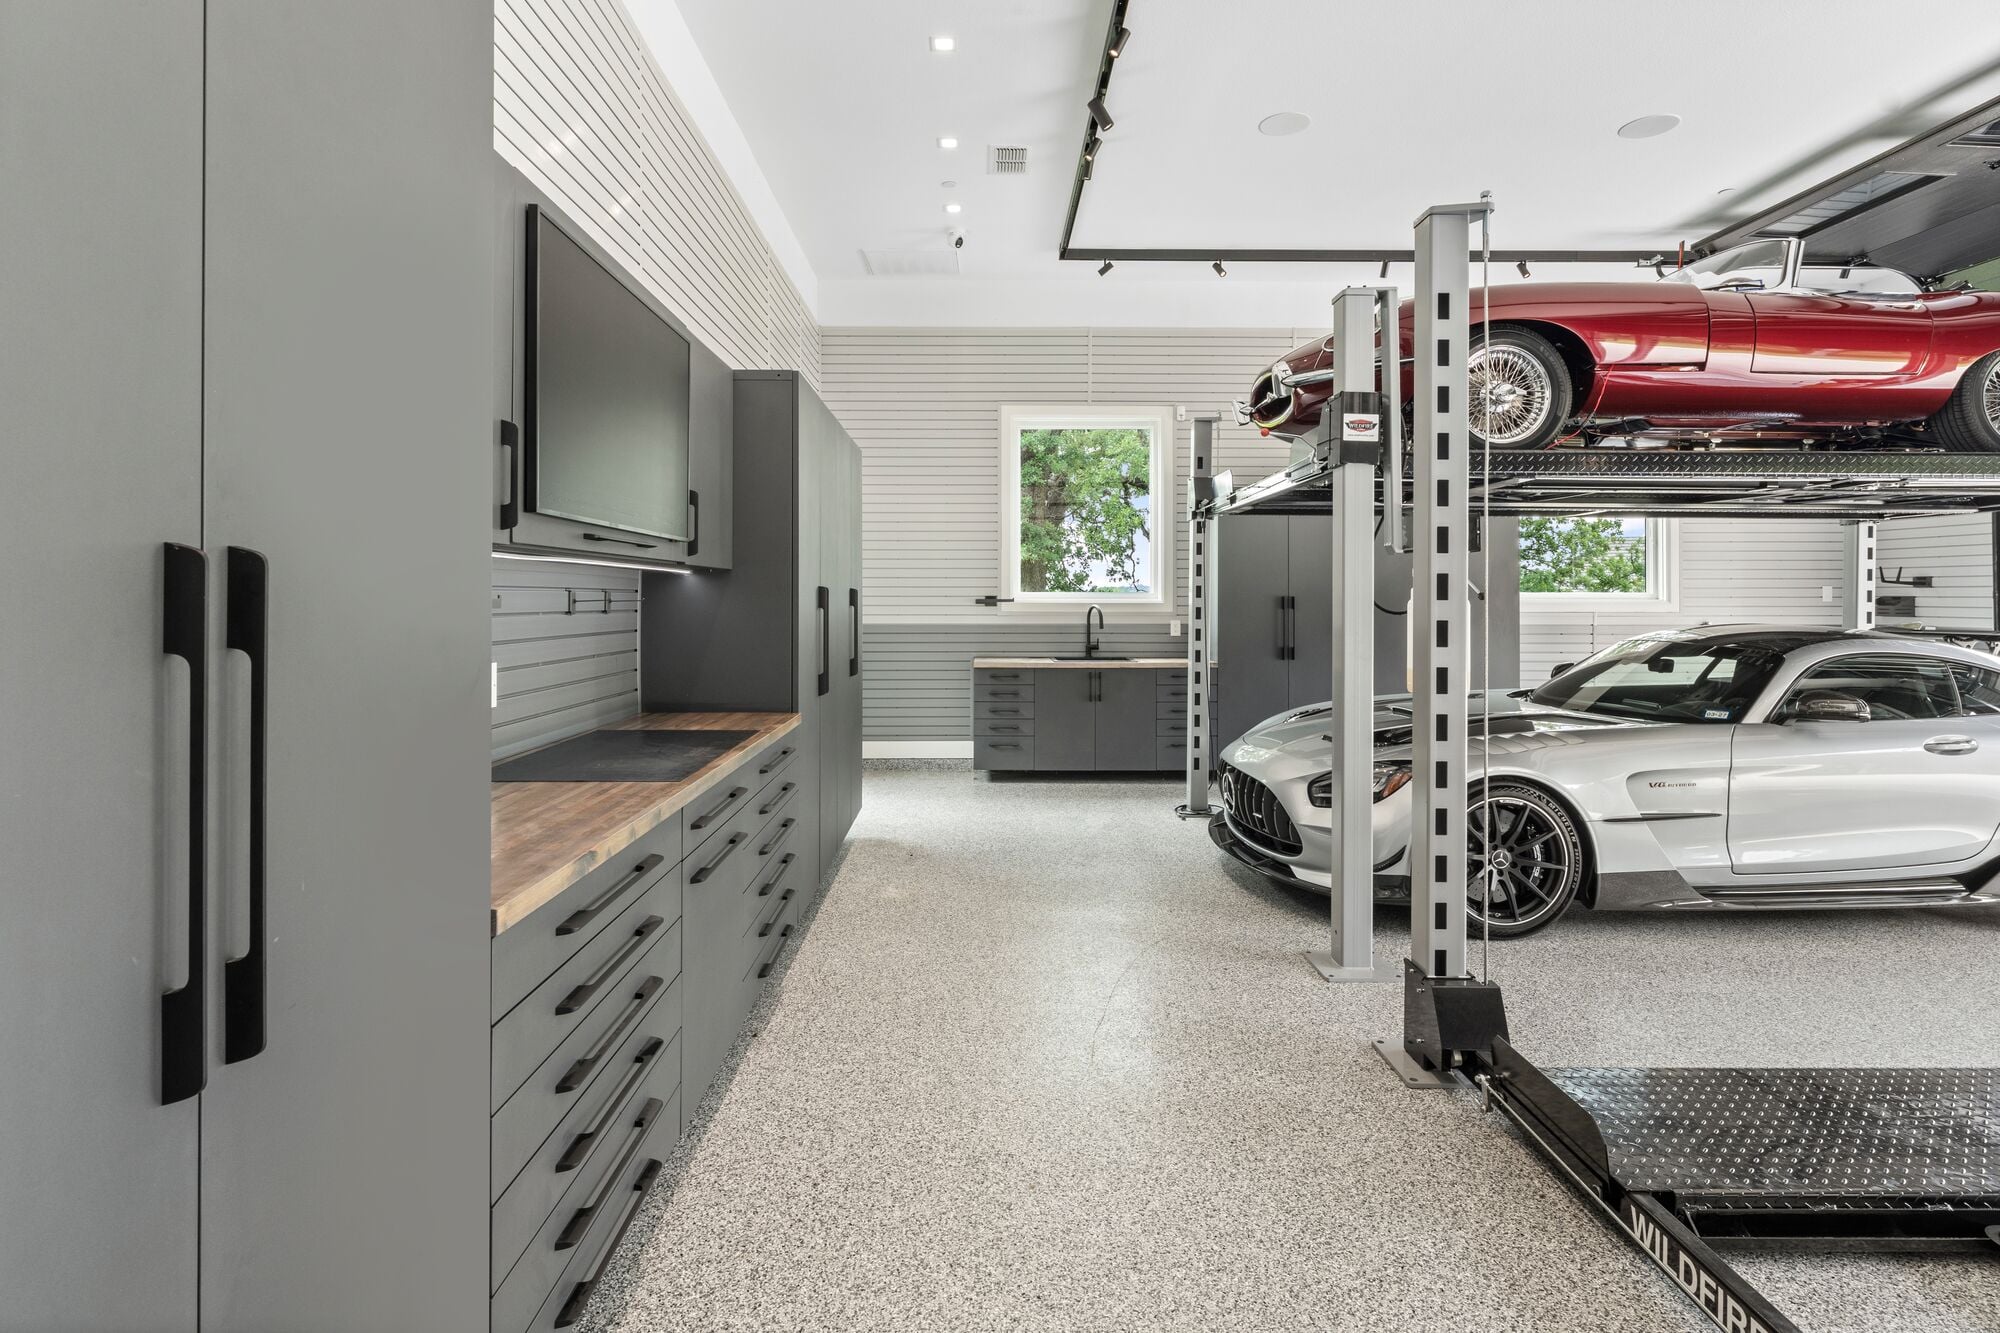
Garage Living's cabinet systems are built to exact specifications, fitting your garage's dimensions perfectly. Options include tall storage cabinets for long items, base cabinets with workbench tops, and upper cabinets for items you access less frequently.
Slatwall organization panels
Slatwall panels turn empty walls into flexible storage zones. These horizontal-grooved panels accept a variety of hooks, bins, baskets, and shelves that can be repositioned as your needs change. Also, slatwall supports heavier loads and has a cleaner appearance.
Position slatwall in high-traffic areas where you need quick access to tools, sports equipment, or garden supplies. The system works especially well near workbench areas and entry points from the house.
Overhead storage racks
Ceiling space is often the most underused area in residential garages. Overhead storage racks capitalize on this vertical real estate, perfect for seasonal items like holiday decorations, camping gear, and luggage you don't access daily.
When planning overhead storage, account for your garage door's clearance path and any automatic opener mechanisms. Most overhead racks offer adjustable height settings to accommodate different ceiling configurations.
The correct installation sequence
Phase 1: Concrete preparation and repair
Every successful garage renovation starts with concrete preparation. Cracks need filling with appropriate patching compounds. Oil stains require degreasing treatments. The entire surface needs profiling—either through diamond grinding or acid etching—to create a texture that floor coatings can grip.
This phase takes 1-2 days depending on your concrete's condition. Rushing preparation leads to coating adhesion failures down the road, so invest the time here.
Phase 2: Floor coating application
With the concrete properly prepared, floor coating can begin. Professional polyaspartic applications typically require one day for the base coat and decorative flake broadcast, followed by a clear top coat. The floor is ready for light foot traffic within 24 hours and vehicle traffic within 48-72 hours.
During this phase, the garage needs to be completely empty. Plan ahead by temporarily relocating vehicles and stored items.
Phase 3: Wall system installation
Once the floor has cured, wall systems can be installed. Slatwall panels are typically mounted first, followed by any fixed shelving units. Installers mark stud locations and use heavy-duty anchors to ensure wall systems can support their rated load capacities.
Electrical work, if needed for lighting or outlets, should happen during this phase before cabinets are positioned.
Phase 4: Cabinet and final storage installation
Cabinets are installed last. Wall-mounted units go up first, leveled and secured to studs or blocking. Base cabinets follow, positioned according to the pre-planned layout. Countertops and workbench surfaces are added once cabinets are secured.
The final step involves adding accessories: hooks to slatwall, bins to racks, and organizing contents into their designated spots.
How to match flooring and cabinet finishes
Coordinating your floor coating color with cabinet finishes creates visual harmony that makes your garage feel intentional rather than assembled piecemeal. The key is understanding undertones.
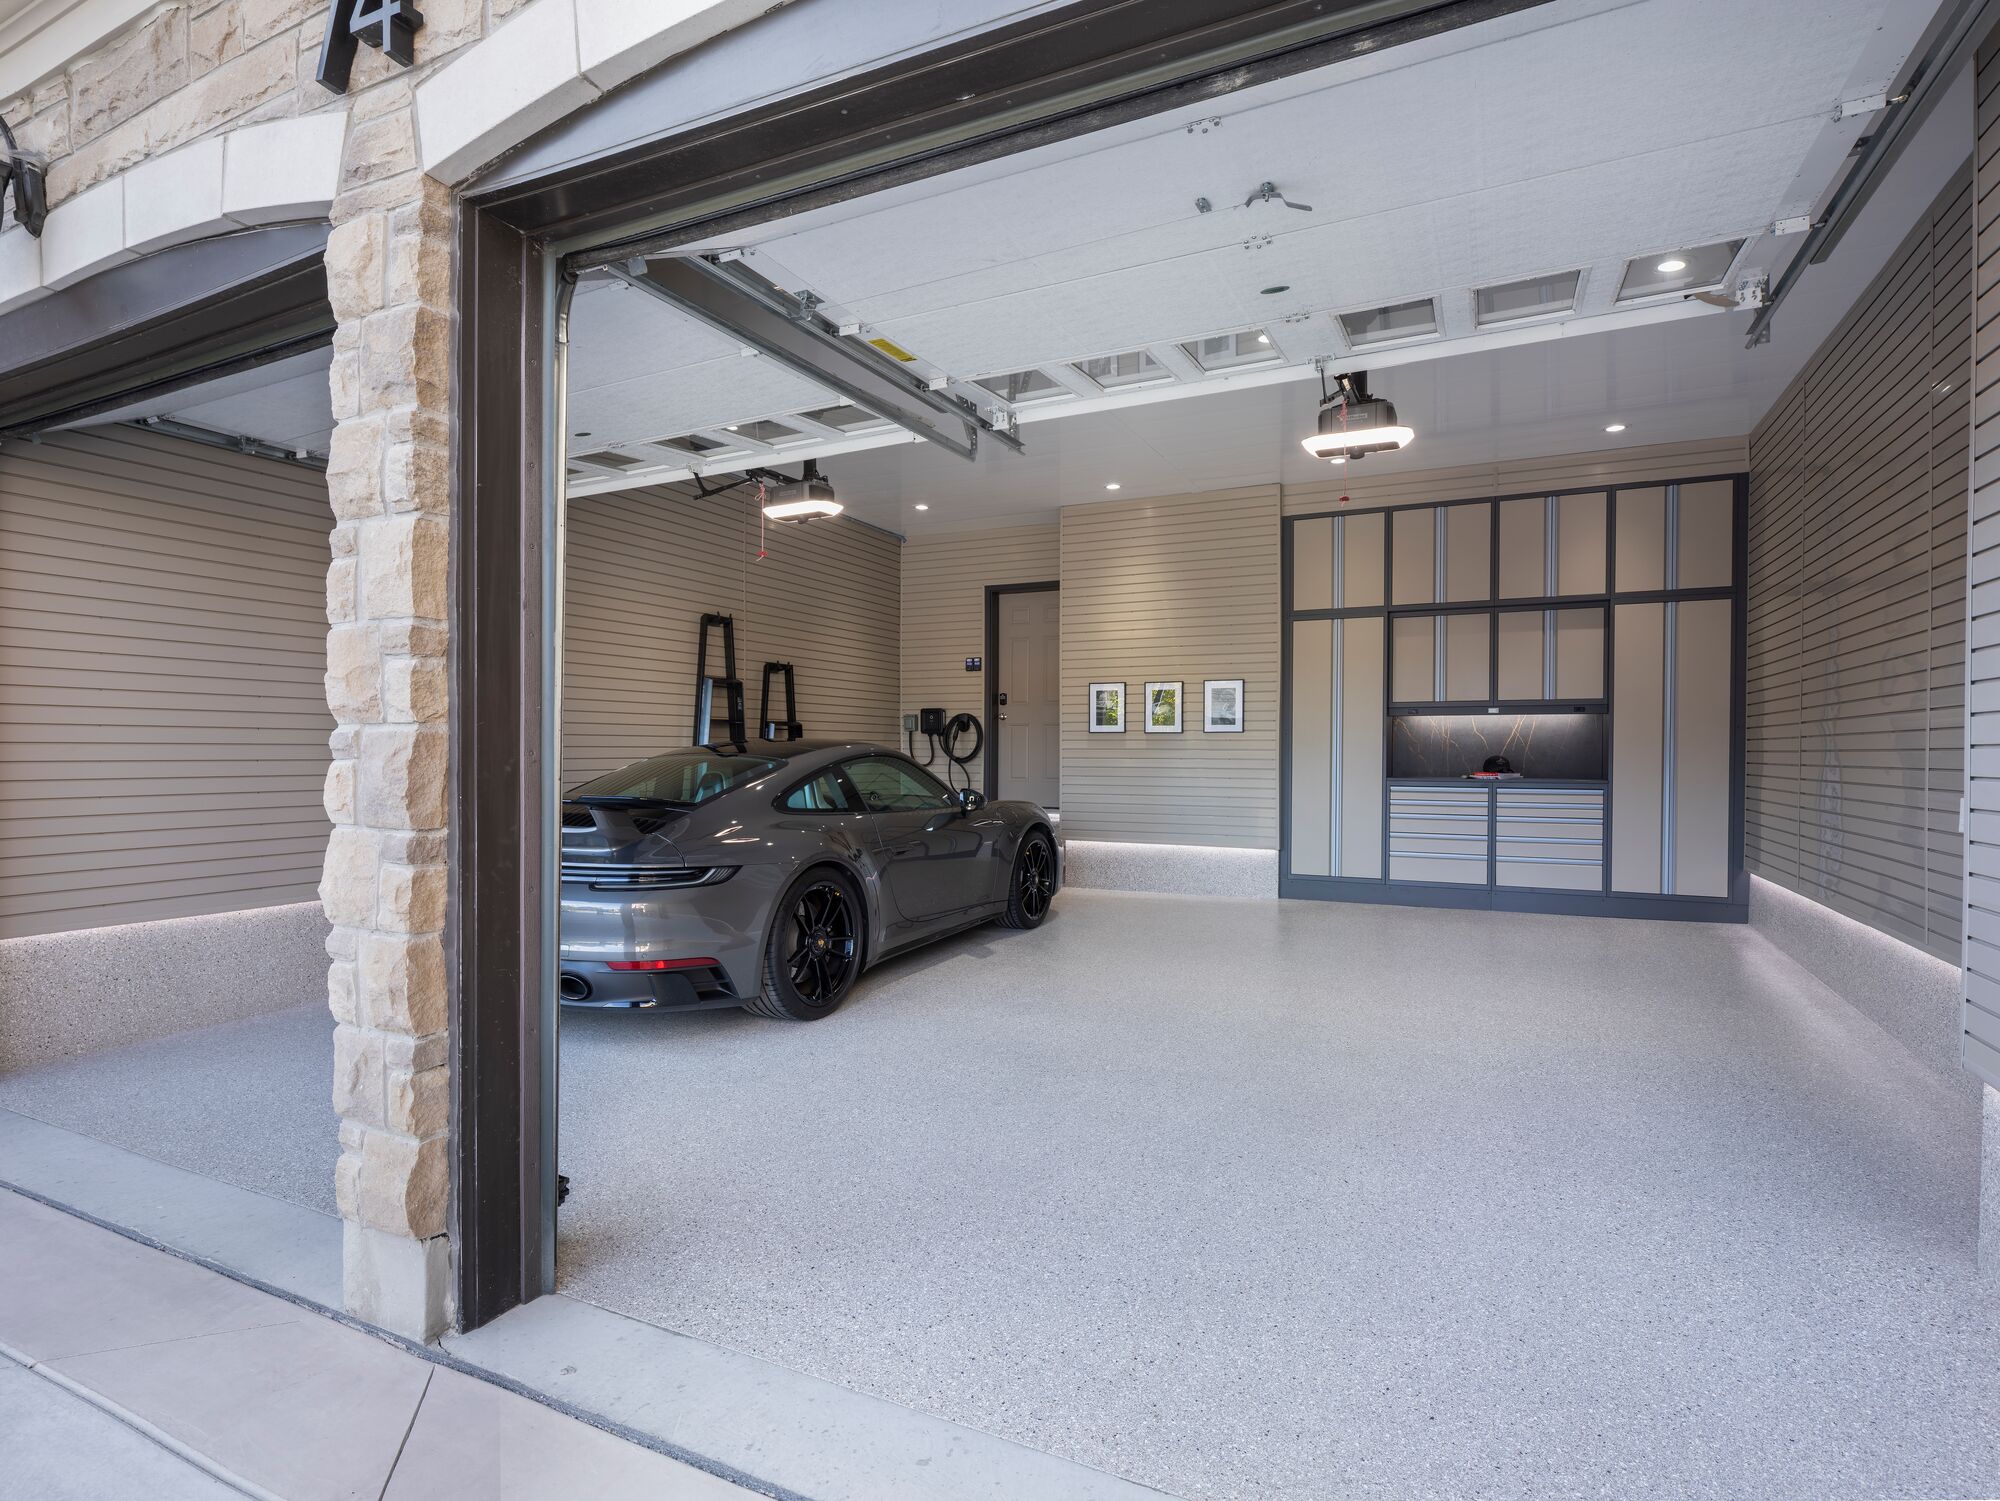
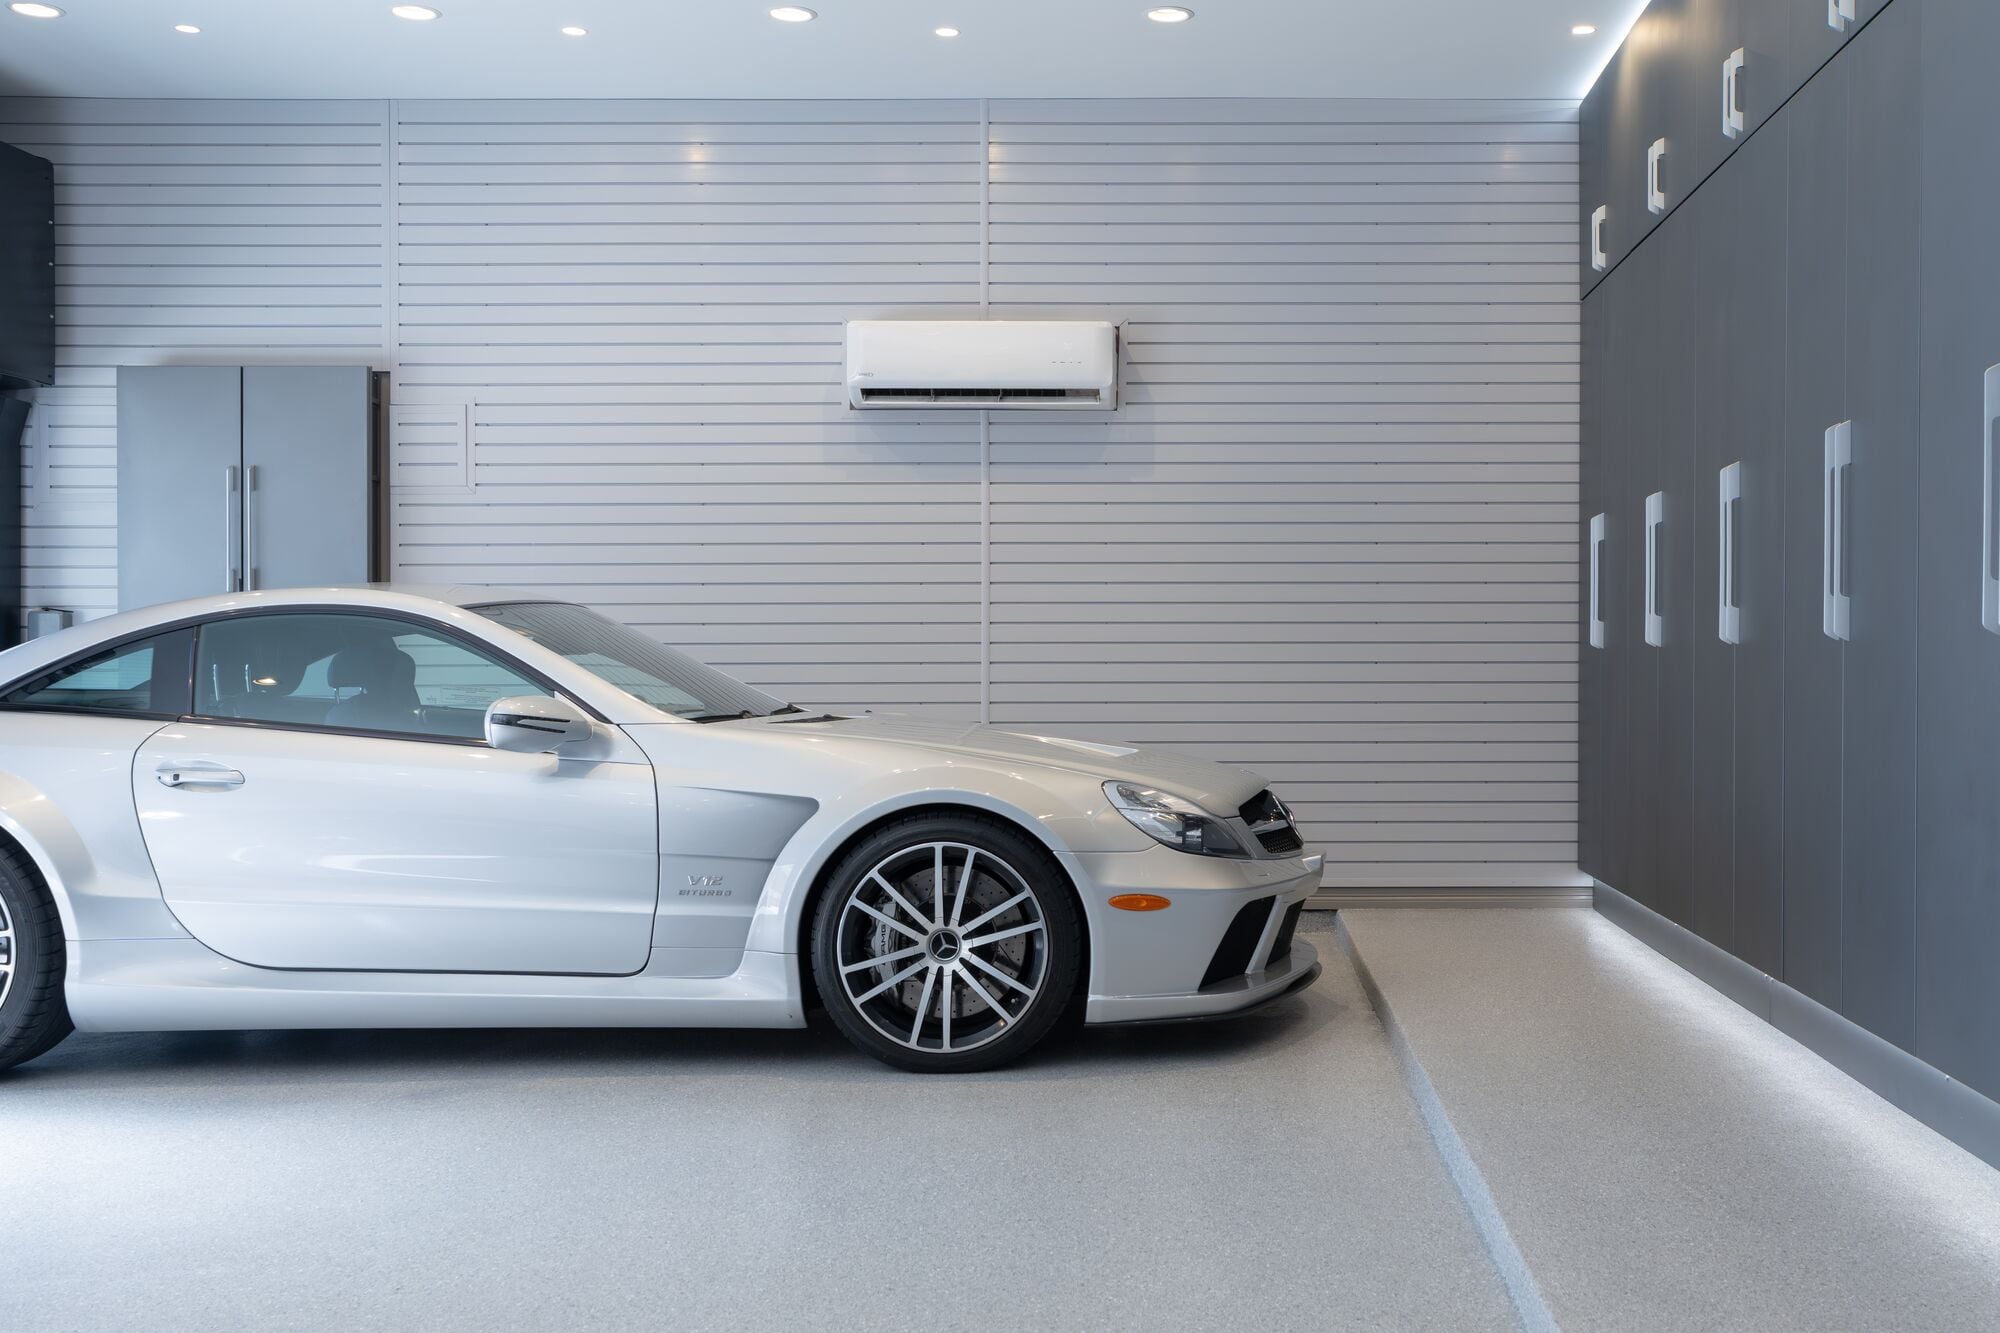
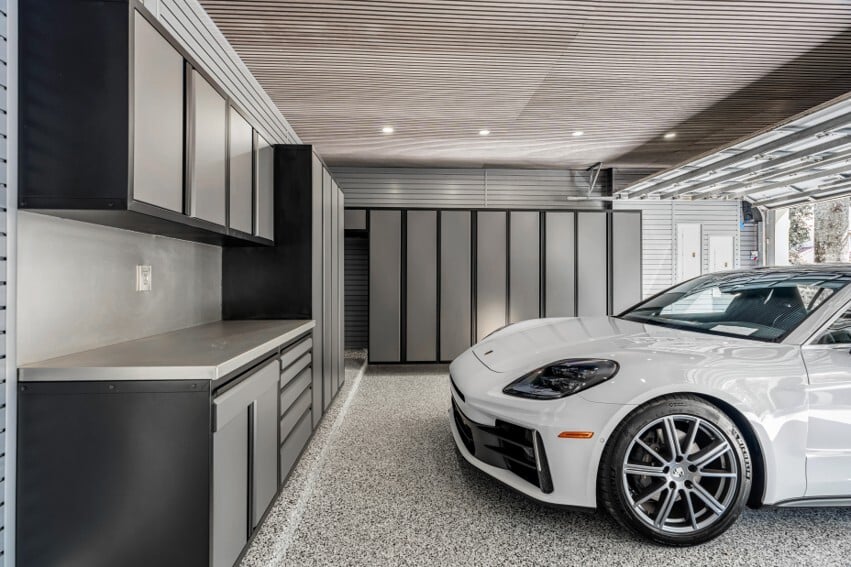
Gray-toned floor coatings pair well with silver, charcoal, or black cabinet finishes. Warm tan or beige floors complement wood-grain cabinet styles or bronze hardware accents. High-contrast combinations—like dark cabinets against lighter floors—create a showroom aesthetic popular among automotive enthusiasts.
Garage Living's Designer Series themes take the guesswork out of finish coordination. Each theme combines pre-selected flooring, cabinet, and accessory finishes that work together visually and practically.
Planning around your garage's primary function
Vehicle storage focus
If parking is your primary goal, prioritize floor coatings that resist hot tire pickup and road salt. Plan cabinet placement to maximize parking clearance, typically mounting units on the wall opposite the garage door.
Consider adding overhead storage above the parking zones for items like seasonal tires or roof cargo boxes. Slatwall near the entry door keeps everyday items accessible without interfering with vehicle doors.
Workshop configuration
Workshop garages need durable flooring that handles dropped tools, chemical spills, and rolling tool chests. Anti-fatigue properties matter if you spend extended periods standing at a workbench.
Plan electrical circuits for power tools before wall systems go up. Include adequate task lighting over work surfaces. Position cabinets to create a logical workflow, keeping frequently used tools within arm's reach of your primary work area.
Hobby and recreation space
Garages dedicated to hobbies—whether cycling, woodworking, or automotive projects—benefit from flexible storage that adapts as interests evolve. Slatwall systems excel here, allowing easy repositioning of specialized racks and hooks.
Zone the space intentionally. Create a dedicated area for each activity rather than mixing everything together. This approach keeps the garage functional even as your hobbies expand.
Budgeting your garage renovation
Where to invest and where to save
Not all garage components deliver equal value. Floor coatings and cabinets should receive the bulk of your budget—these elements do the heavy lifting in terms of durability and daily function. High-quality flooring prevents costly failures, while sturdy cabinets provide decades of use.
You can save on accessories like hooks and bins, which are easily upgraded later. Similarly, organizational items inside cabinets can start basic and improve over time.
Understanding total project costs
Garage renovation costs vary significantly based on square footage, condition of existing concrete, and scope of storage systems.
Professional design consultations help clarify costs early. Garage Living offers complimentary consultations that include CAD visualizations of your proposed renovation, allowing you to see the finished result before committing.
Common planning mistakes to avoid
Skipping the moisture test
Moisture is the silent killer of garage floor coatings. Skipping the plastic sheet test or ignoring professional moisture readings leads to coating delamination within months. Always verify moisture levels before selecting your flooring system.
Underestimating preparation work
Concrete that looks "good enough" often harbors invisible problems. Old sealers, silicone treatments, and even certain cleaning products can prevent coating adhesion. Professional preparation identifies and addresses these issues before they cause failures.
Ignoring clearances and access
Cabinets that block garage door sensors, overhead racks that interfere with automatic openers, or slatwall that covers electrical panels—these problems happen when measurements aren't verified before installation. Always mock up layouts with painter's tape before committing to permanent installation.
Choosing aesthetics over function
A beautiful garage that doesn't function well quickly becomes frustrating. Prioritize accessibility, load capacity, and durability in your selections. Good design balances visual appeal with practical performance.
The role of professional installation
Garage renovations involve skills spanning concrete preparation, coating application, electrical work, and cabinet installation. While motivated homeowners can tackle portions of these projects, professional installation offers distinct advantages.
Experienced installers understand how different flooring systems perform in various climates and conditions. They recognize warning signs during concrete prep that indicate potential problems. Their work typically carries warranties that DIY projects cannot match.
Garage Living's design-to-installation service handles every phase of the project. From the initial consultation through the final walkthrough, a dedicated team manages logistics, scheduling, and quality control. This turn-key approach minimizes disruption to your household while ensuring consistent results.
Preparing for your free design consultation
Before meeting with a garage design professional, gather photos of your current garage from multiple angles. Note any specific problems you want solved—whether that's parking more vehicles, creating workshop space, or simply organizing accumulated belongings.
Think about how your needs might evolve. Are electric vehicle charging stations on your horizon? Do you anticipate new hobbies or equipment in the coming years? Sharing these possibilities helps designers create flexible solutions that adapt over time.
Finally, establish a realistic budget range. Knowing your investment parameters allows designers to recommend appropriate products and configurations rather than showing options outside your comfort zone.
Building a garage that works as one system
Planning garage flooring and storage together isn't just more efficient—it produces better results. When materials, finishes, and installation sequences are coordinated from the start, you end up with a space that performs well under real conditions and looks intentionally designed.
Take time to assess your concrete, understand your flooring options, and plan storage around your garage's primary function. Avoid common mistakes by testing for moisture, respecting clearances, and prioritizing function alongside aesthetics.
Whether you tackle portions yourself or partner with professionals, the integrated approach outlined in this guide positions your garage renovation for long-term success. A well-planned garage becomes more than a parking spot—it becomes a functional extension of your home that supports your lifestyle for years to come.
FAQs about how to plan garage flooring and storage in 2026
Should I install garage flooring before or after cabinets?
Install flooring first, then cabinets. Floor coatings need a completely empty garage for proper application and curing. Once the floor is ready, wall-mounted cabinets can be installed without damaging the new surface. Garage Living sequences all installations to protect finished work during each phase.
How long does a typical garage flooring installation take?
Professional polyaspartic floor coating installation typically takes one day. The floor is ready for foot traffic within 24 hours and vehicle traffic within 48-72 hours. Traditional epoxy systems require longer cure times, often 5-7 days before parking vehicles. Garage Living's Floortex system offers fast-curing performance that minimizes downtime.
What causes garage floor coatings to peel or fail?
The most common causes are moisture in the concrete, inadequate surface preparation, and choosing coatings that can't handle temperature fluctuations. Skipping the moisture test or rushing concrete preparation creates conditions where coatings can't bond properly. Garage Living addresses these issues during the preparation phase to prevent future failures.
Can I add storage systems to my garage without replacing the floor?
Yes, storage systems can be installed over existing floors in good condition. However, if your floor needs eventual replacement, it's more cost-effective to complete flooring first. Removing and reinstalling cabinets later adds labor costs and risks damaging cabinetry during the process.
What's the difference between polyaspartic and epoxy floor coatings?
Polyaspartic coatings cure faster, resist UV yellowing, and perform better in temperature extremes. They're more flexible than epoxy, which helps prevent cracking in climates with significant temperature swings. Epoxy costs less but requires longer cure times and may yellow over time when exposed to sunlight.
How do I know if my garage needs professional installation?
Consider professional installation if your concrete has significant damage, moisture issues, or previous coating failures. Professional installers have equipment for proper diamond grinding, moisture testing, and coating application that ensures long-term performance. Garage Living's professional teams carry insurance and back their work with warranties.
What storage options work best for heavy tools and equipment?
Wall-mounted steel cabinets with ball-bearing drawer slides handle heavy loads reliably. Look for systems with 150-pound or higher drawer capacity ratings. Garage Living's cabinets feature heavy-duty construction designed for real garage conditions, including weight from tools, automotive parts, and equipment.