A garage renovation touches every part of the space at once: where vehicles park, how storage is organized, what the floor can withstand, and whether the electrical system is ready for an EV charger. Skipping any one of these during planning leads to rework or a layout that stops working when your needs shift.
Garage Living designs complete garage environments that address parking, storage, flooring, and electrical readiness as connected decisions. This guide walks through eight planning priorities that experienced designers recommend before any renovation work begins.
Garage renovation planning
- Measure actual vehicle dimensions and door clearances before selecting any storage or cabinet layouts for the space.
- Choose flooring first, because cabinet placement and zone planning depend on a finished floor surface.
- Plan dedicated zones for parking, storage, hobbies, and seasonal items to prevent gradual clutter buildup.
- Garage Living helps homeowners integrate EV charging circuits into the renovation rather than retrofitting later.
- Prioritize professional design so flooring, cabinetry, wall storage, and lighting work together from day one.
Planning priorities before starting your garage renovation
1. Measure your parking clearances first
Most homeowners start a renovation by picking cabinets or shelving. Experienced garage designers start with the vehicles. A full-size pickup can run 20 feet or longer, which leaves less than four feet of clearance in a standard 24-foot-deep garage once the door closes.
Measure each vehicle bumper to bumper, then add the depth of your planned back-wall storage (typically 24 inches for cabinetry) plus three feet of walking space.
2. Choose flooring before anything else
Flooring sets the foundation for the entire renovation. Installing cabinets or wall storage on bare concrete and then coating around them creates exposed seams that trap moisture, dirt, and road salt underneath.
A professionally applied polyaspartic floor coating goes down wall-to-wall before any storage is mounted. Garage Living's Floortex coating bonds deep into prepared concrete rather than sitting on top, creating a surface that resists hot tire pickup, chemical spills, and salt stains. The fast cure time means minimal downtime, often returning the space to vehicle traffic within 24 hours.
3. Plan dedicated zones for every activity
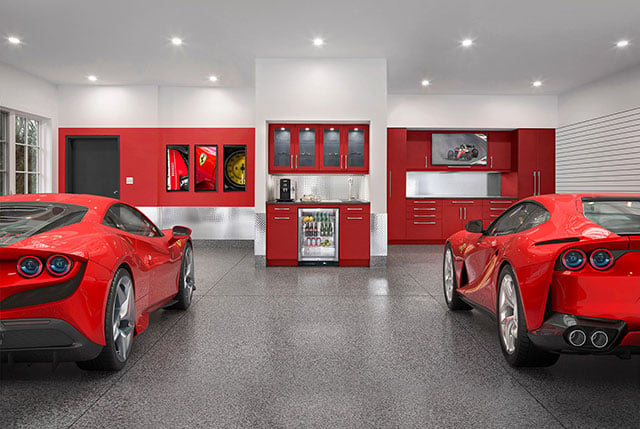
Garages become disorganized when parking, storage, hobbies, and household items share the same undefined area. A zone-based layout assigns distinct areas: a vehicle zone with comfortable door-opening clearance, an everyday storage zone near the house entry, a seasonal zone, and a hobby or workshop zone.
According to the AIA's Q3 2026 Home Design Trends Survey, garage upgrades with customized and concealed storage are among the special-function spaces gaining popularity. Mapping zones early prevents the gradual clutter that eventually pushes vehicles out of the garage entirely.
4. Design storage around how you live
Selecting cabinets, slatwall systems, and overhead racks before understanding daily routines is a common planning mistake. A household with three cyclists, two sets of golf clubs, and seasonal camping gear needs a very different configuration than a family focused on vehicle protection and workshop space.
Start by listing every item stored in the garage and grouping them: sports equipment, automotive supplies, gardening tools, seasonal decor, and household overflow. That inventory drives decisions about how many linear feet of slatwall you need and whether overhead racks should hold winter tires or holiday bins.

5. Build your electrical plan for EV readiness
Adding an EV charger after a renovation often means tearing into new walls or discovering the panel cannot support a 240-volt circuit alongside existing garage loads. The U.S. EPA recommends evaluating charging needs based on daily driving distance and vehicle type before construction starts.
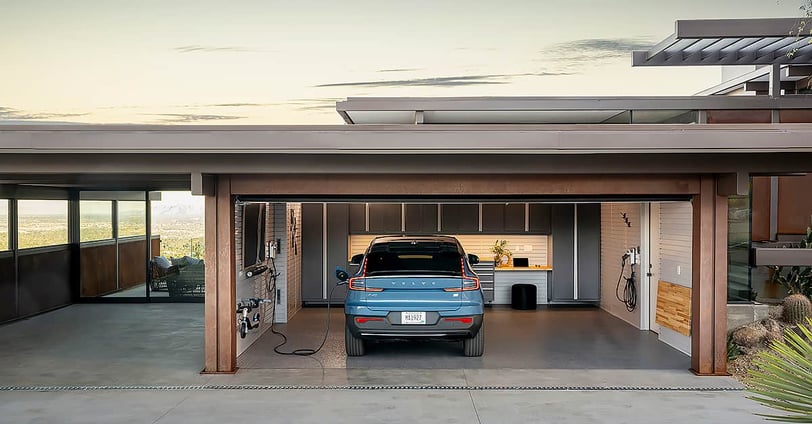
During the renovation, an electrician can run a dedicated circuit and position the outlet relative to the vehicle's charge port before walls close off. Garage Living's ReCHARGE Designer Series integrates charger placement into the overall garage design from the start.
6. Select cabinetry that fits the space, not the catalog
Off-the-shelf cabinets come in fixed dimensions that rarely match garage layouts. Gaps between units waste wall space, and standard depths may block vehicle doors or walking paths in tighter garages.
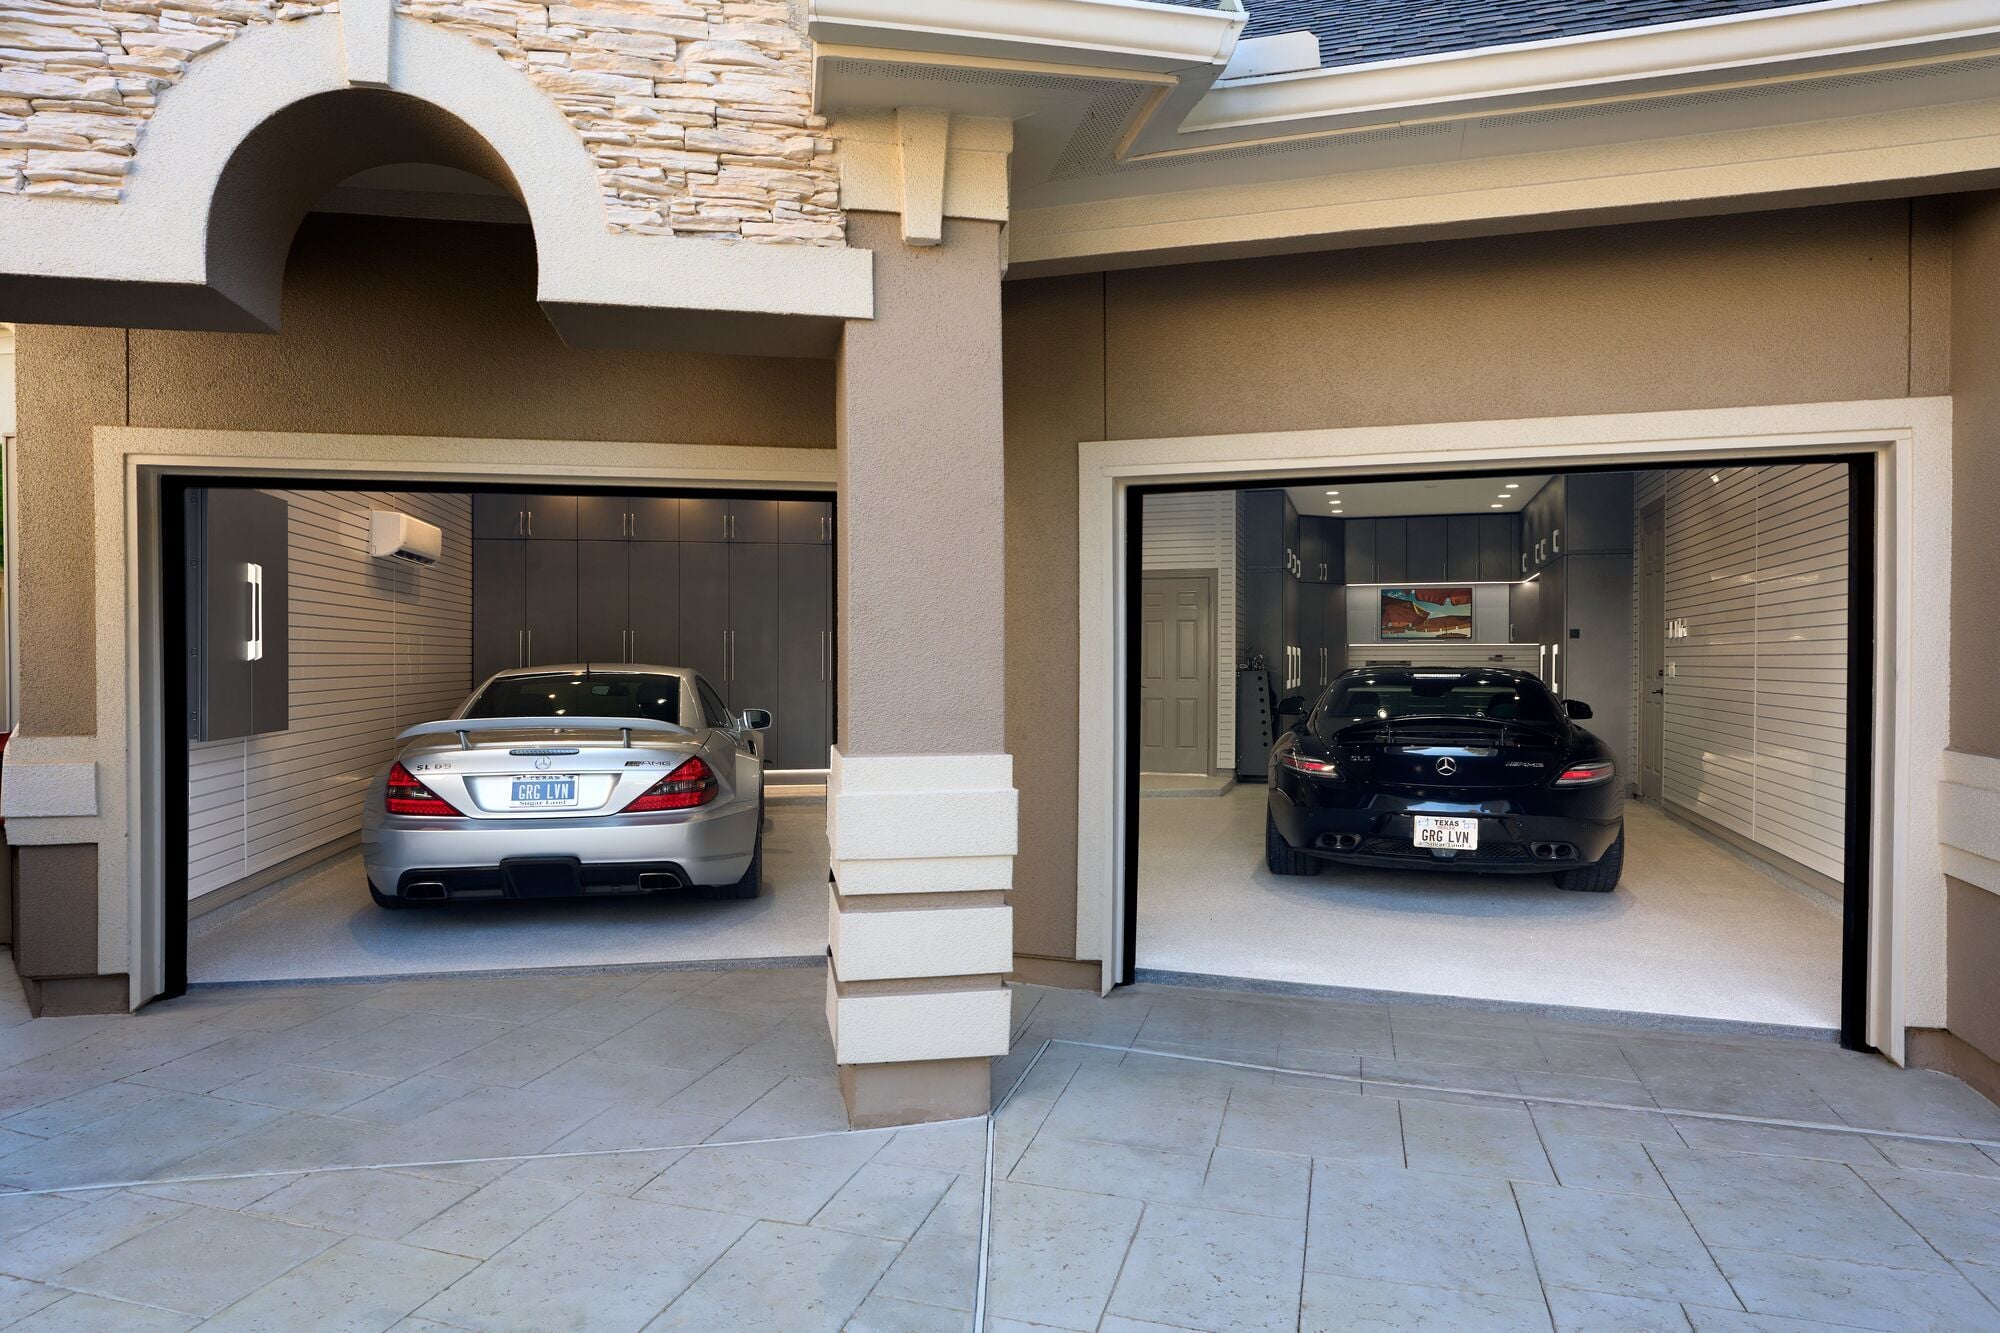
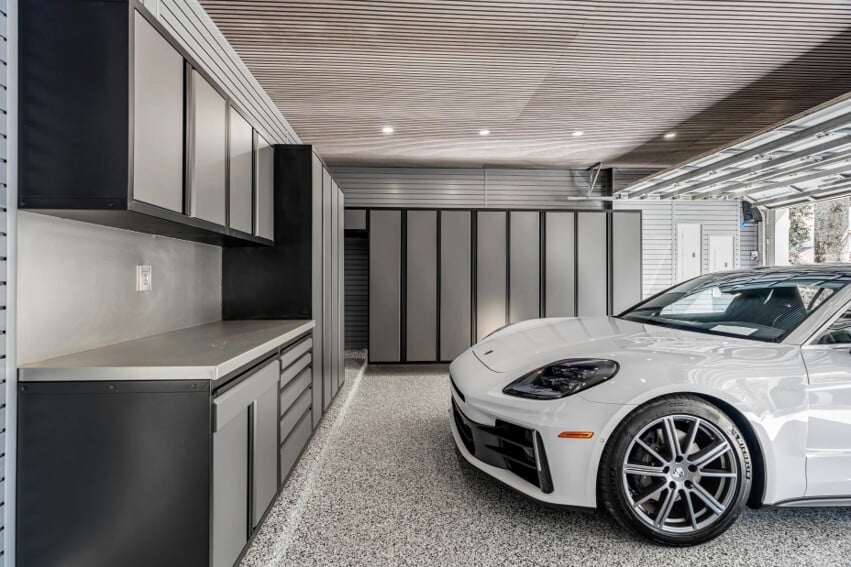
Custom cabinetry solves both problems. Garage Living's GL Signature Steel Cabinetry is built with fully welded 18-gauge steel construction and 150-lb ball-bearing drawer sliders, fabricated to fit each garage's exact dimensions. Powder-coated finishes come in multiple colors to coordinate with flooring and wall panels, creating a cohesive look rather than a patchwork of mismatched units.
7. Account for vertical space and vehicle stacking
Ceiling height is one of the most underused assets in a residential garage. Homeowners with multiple vehicles often overlook the option of stacking them with an ALI-certified residential car lift, which effectively doubles parking capacity without expanding the garage footprint.
Lifts require roughly 10 feet of clearance and concrete that meets thickness and strength requirements. Planning lift placement during the renovation ensures flooring, electrical connections, and cabinetry all accommodate the equipment from day one rather than requiring costly retrofitting.
8. Treat the renovation as one integrated project
Renovating a garage one product at a time, shelving this year, cabinets next year, flooring eventually, creates inconsistent finishes, redundant installation visits, and missed layout opportunities. Experienced designers plan flooring, cabinetry, wall storage, overhead racks, lighting, and electrical as a single coordinated project.
Garage Living's turn-key approach starts with a complimentary design consultation that includes CAD visualizations of the finished space. Every component is selected together, so the floor color complements the cabinets and slatwall placement avoids charger access paths. The result is a garage that functions like an intentional extension of the home.
How to approach your garage renovation with confidence
Planning a garage renovation around parking, storage, flooring, and EV readiness before selecting any products puts you in control of the outcome. Each of these eight priorities connects to the others: vehicle clearances shape cabinet depth, flooring installation drives the project sequence, zone planning determines storage quantities, and electrical capacity dictates charger placement.
Garage Living brings these decisions together through professional design, premium materials, and expert installation. If you are considering a garage renovation, a complimentary consultation is the practical first step toward a space designed around how you actually use it.
FAQs about garage renovation planning
What should I plan first in a garage renovation?
Start with vehicle measurements and parking clearances. Knowing exactly how much room your vehicles need determines where cabinets, wall storage, and workstations can go without restricting access.
How do I prepare my garage for an EV charger during a renovation?
Have an electrician assess your panel capacity and run a dedicated 240-volt circuit before walls and finishes are closed. Positioning the charger outlet near the vehicle's charge port avoids long cable runs across walking paths.
Is polyaspartic flooring better than epoxy for a garage?
Polyaspartic coatings offer faster cure times, stronger UV stability, and improved resistance to hot tire pickup compared to standard epoxy. They return the garage to vehicle traffic within roughly 24 hours, while epoxy typically requires five to seven days of cure time.
How much ceiling height do I need for a residential car lift?
Most four-post residential lifts require approximately 10 feet of ceiling clearance. Garage door track placement and opener hardware also affect fitment, so a site evaluation is essential before committing.
Why should garage flooring be installed before cabinets?
Coating the floor wall-to-wall before mounting any storage creates a continuous, protected surface with no exposed seams. This prevents moisture and debris from collecting beneath cabinet bases and simplifies long-term cleaning.
How long does a complete garage renovation take?
Timelines depend on scope. Garage Living coordinates flooring, cabinetry, and storage installation in a planned sequence to keep downtime short.